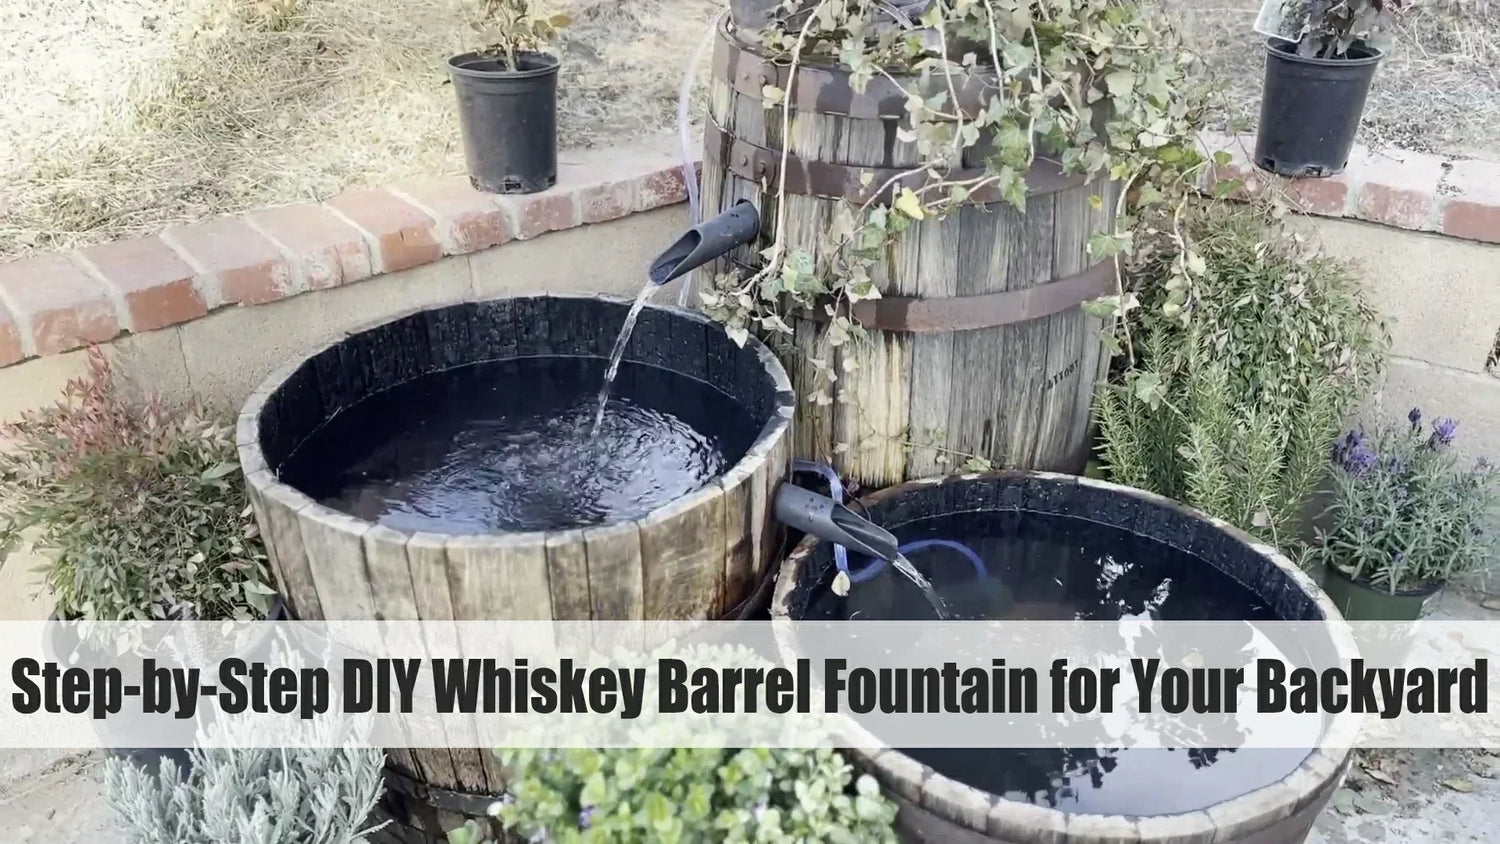
Have you ever wondered if there's a way to add a touch of elegance to your backyard or balcony without spending a fortune on a ready-made solution? You can then create a unique fountain yourself using discarded whiskey barrels!
Our friend The Homestead Engineer (@thehomesteadengineer-1) has released a YouTube article demonstrating this step-by-step process. Let's learn how he unlocks this retro-style DIY fountain step by step, making it easy even for beginners.
Sealing the Barrel: Preparation is Key
The first problem to solve is sealing the whiskey barrel. Most old barrels from local distilleries have been stored for too long and are dry; filling them directly with water will definitely cause leaks. Therefore, the first step must be sealing them properly.
You need to put the original metal bands back in place, ensuring each band is in its original slot. This is crucial for the barrel's stability. Next, drive three finishing nails under each metal hoop. Be careful not to drive the nails completely through the wooden planks; just enough to secure the hoop and avoid compromising the barrel's integrity.

Then, you'll need to fill the barrel with water twice a day, morning and evening. This allows the dry wooden planks to absorb water and expand, achieving a natural seal. This process requires patience and usually takes 1-2 weeks until the barrel stops leaking. Perfect!

Cutting the Barrel for Your Fountain's Structure
To create a more layered fountain effect, the sealed barrel needs to be cut into two parts to form the upper and lower layers of the fountain. He shared a tip: using the metal hoop in the middle of the barrel as a reference line, use a circular saw to cut the barrel into 1/3 and 2/3 proportions. The cut should be slightly below the bung holes on the barrel. This avoids positional conflicts when installing pipes later.

image:@thehomesteadengineer-1
After cutting, first remove the original cork from the barrel and use it to seal the top opening of the smaller section (the 1/3 portion). This section will become the fountain's "upper water reservoir." The larger section (the 2/3 portion) will serve as the "lower water reservoir," where the water pump will be housed.

Tips: After cutting the barrel, the metal clamps may loosen. Remember to tighten them with a hammer to prevent the barrel from warping and leaking after filling with water.
Pipe Installation: Ensuring Smooth Water Flow
The pipes are the fountain's "blood vessels," and careful installation is crucial. First, treat the upper barrel (1/3 portion): Drill a 1 3/4 inch hole at a suitable location on the side of the barrel. The location doesn't need to be perfectly precise, but it must be higher than the lower barrel to ensure smooth water flow to the lower level.
After drilling, use tools or sandpaper to smooth the opening, creating a slight slope for easier pipe installation. Next, select a 1 1/2 inch galvanized steel pipe. The article uses an 8-inch pipe, but you can adjust the length according to your desired water flow height. First, hand-tighten the pipe into the drilled hole, then tighten it with pipe wrenches until the threads are fully embedded in the wooden board, ensuring there are no leaks at the joint.

To make the water flow more aesthetically pleasing, you can also "shape" the pipe: use a marker to draw the desired outlet shape (such as an arc or bevel) on the end of the pipe, then use an angle grinder to grind along the drawn lines to form the shape. Finally, use a metal file to smooth out any burrs and sharp edges to prevent cuts later. (Special reminder: Always wear hearing protection when using an angle grinder!)
Additionally, it's best to paint the pipe before installation, choosing outdoor-grade paint. If you install first and then paint, the paint is easily scraped off when adjusting with pipe wrenches, affecting the appearance and rust prevention.

Equipping Your Fountain with a Solar-Powered Kit
The core power source of this 20W Poposoap fountain pump is a solar-powered water pump, which is not only environmentally friendly but also saves on electricity bills. Its advantage is that it automatically runs during the day when there is sunlight and automatically shuts off at night when there is no sunlight, eliminating the need for manual operation – very convenient, as nobody wants a noisy fountain disturbing their rest at night.

This pump also comes with various fountain head accessories, such as bubble heads and spray nozzles, but to achieve a waterfall effect of "water flowing from the top to the bottom," we can simply use the included water pipe: place the pump in the lower barrel (2/3 of the way down), then connect one end of the water pipe to the pump and the other end through the pipe at the bottom of the upper barrel. When the pump is working, it draws water from the lower level to the upper level and then flows back down through the outlet of the upper steel pipe, creating a circulating water flow.
This Poposoap solar fountain pump is very easy to install. After installing the pump, place the solar panel in a location with direct sunlight to ensure the pump has sufficient power to operate, such as an unobstructed corner in the yard or a south-facing balcony.
Tips: A regular electric water pump can also be used, but be sure to waterproof the wiring.
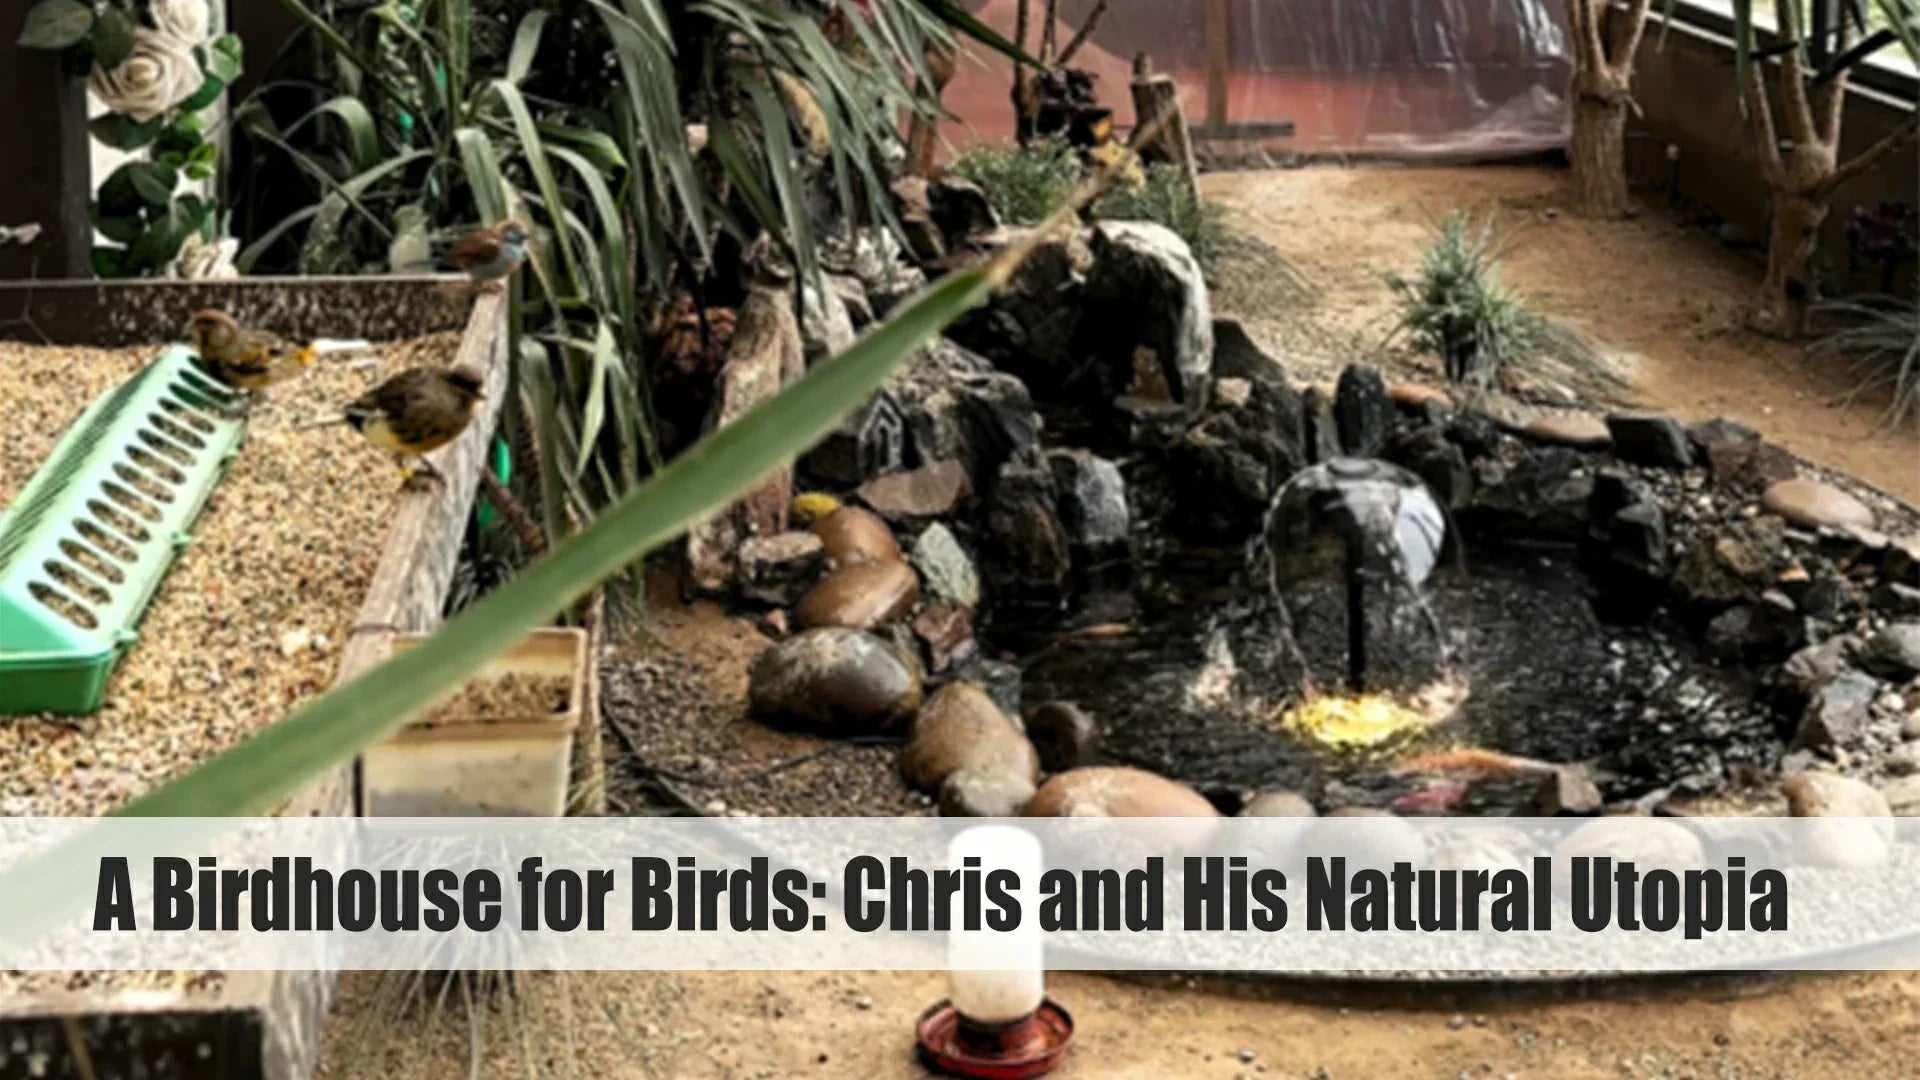
Final Touches: Decorating Your Fountain with greenery
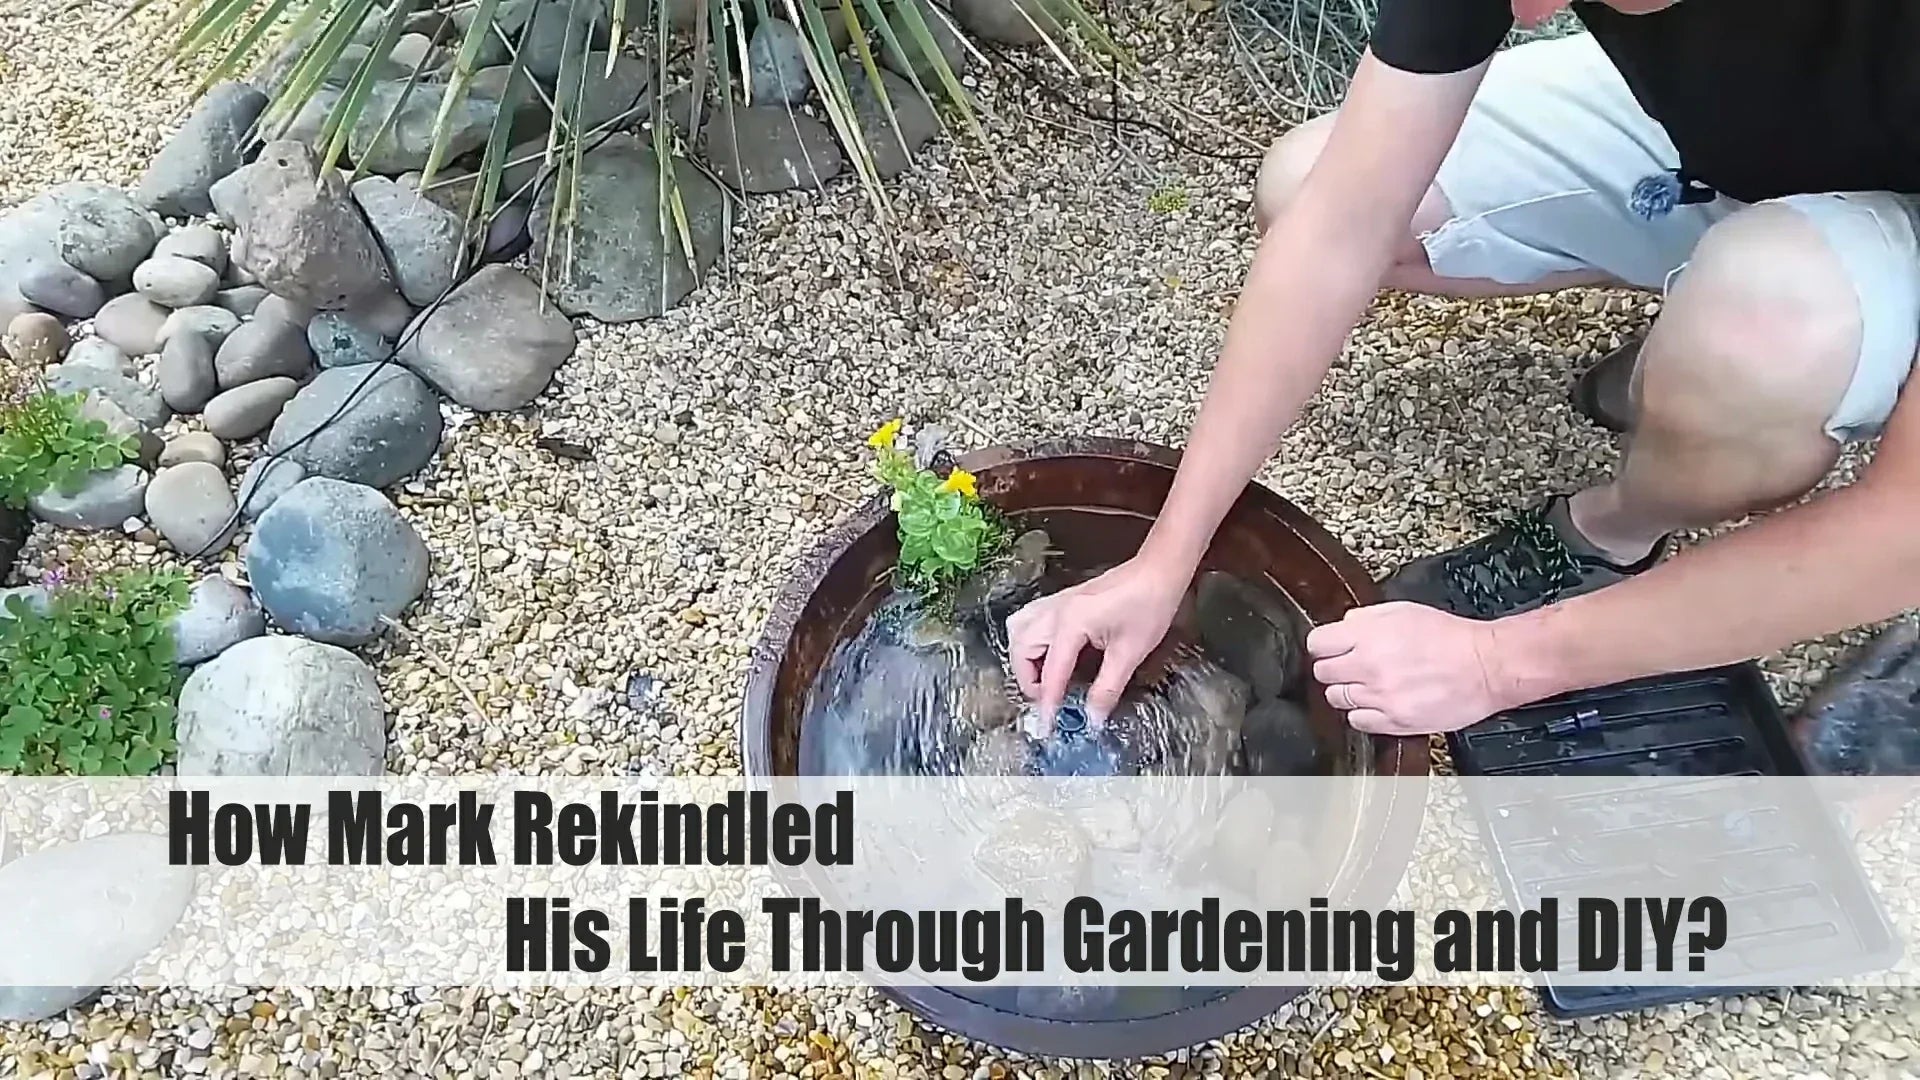
The final step is to make the fountain "look good"! First, place the upper and lower barrels in the desired positions, adjusting the angle of the upper barrel so that the water from the steel pipe outlet flows accurately into the lower barrel, creating a continuous water flow effect.
Then you can get creative with the decorations. You can choose perennial flowering plants, so you can see flowers every year without having to change plants annually, saving time and effort. You can arrange them according to your preferences: for a fresh style, plant mint or ivy; for vibrant colors, plant roses or hydrangeas; you can even place small ornaments around the edge of the lower barrel, such as mini string lights or vintage sculptures, making the fountain not just a water feature but also a decorative focal point in your garden.

Tips: Installation isn't the end of the process. During subsequent use, remember to check the water level in the barrel regularly, especially in summer when water evaporates quickly. Add water promptly to prevent the water pump from running dry and being damaged.
Follow these steps, and your vintage-style and practical whiskey barrel fountain is complete! Sitting by the fountain in your leisure time, listening to the gentle flow of water, and looking at the surrounding greenery and flowers is incredibly pleasant. Go find an old barrel and give it a try!
Leave a comment
All comments are moderated before being published.
This site is protected by hCaptcha and the hCaptcha Privacy Policy and Terms of Service apply.