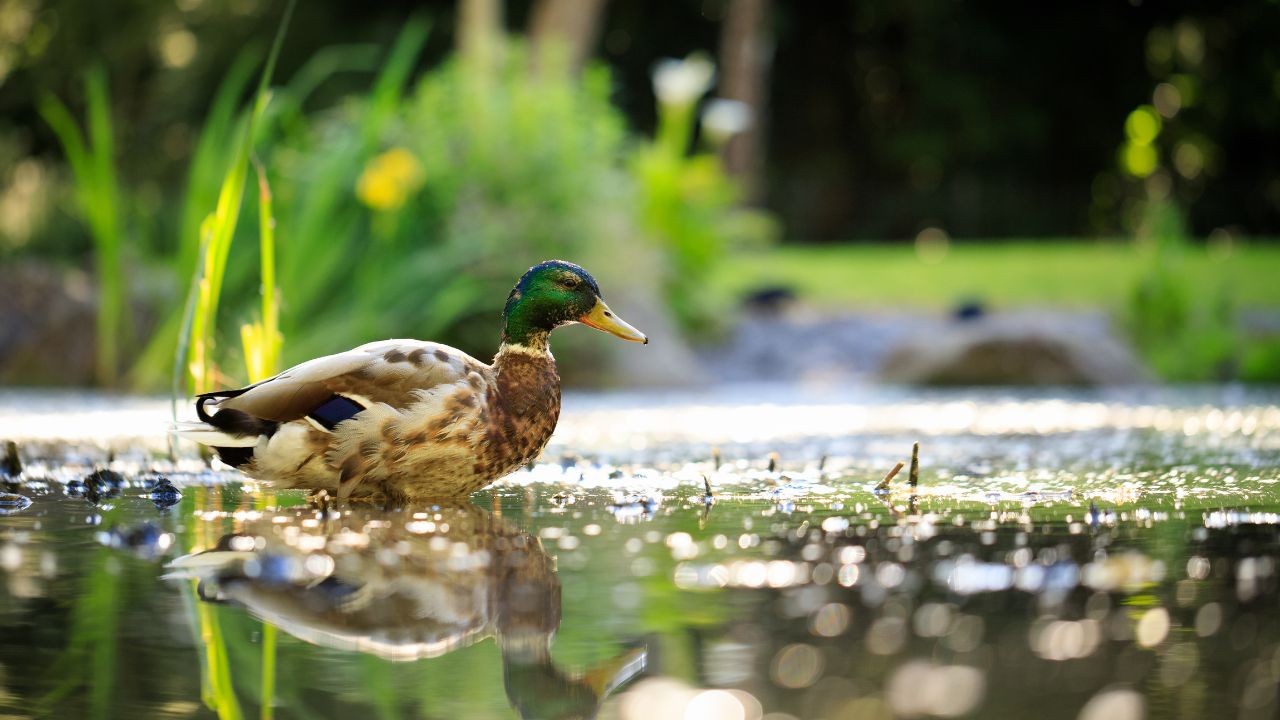
You don’t need a digger, a contractor, or a four-figure budget to turn a quiet corner of your yard into a buzzing wildlife hub. A budget wildlife pond can be as small as a kiddie-pool footprint and still pull in dragonflies, bees, songbirds, and—if you’re lucky—frogs that sing at dusk. The secret isn’t expensive gear; it’s smart design, recycled materials, and a few well-chosen solar tools that keep water circulating without running a single cable. Below is your step-by-step affordable pond DIY plan—practical, nature-first, and friendly to both your wallet and the creatures you hope to attract.
Economical Material Selection
Container or liner. For a cheap wildlife pond, your most expensive line item is usually the water-holding layer. Keep costs down by:
- Reusing a food-safe stock tank, half wine barrel (lined), or a pre-loved pre-form from local classifieds.
- Choosing flexible liner (EPDM or HDPE) over rigid forms for irregular shapes and less waste.
- Laying free or low-cost underlayment: old carpet, felt offcuts, or cardboard under geotextile to protect the liner from stones.
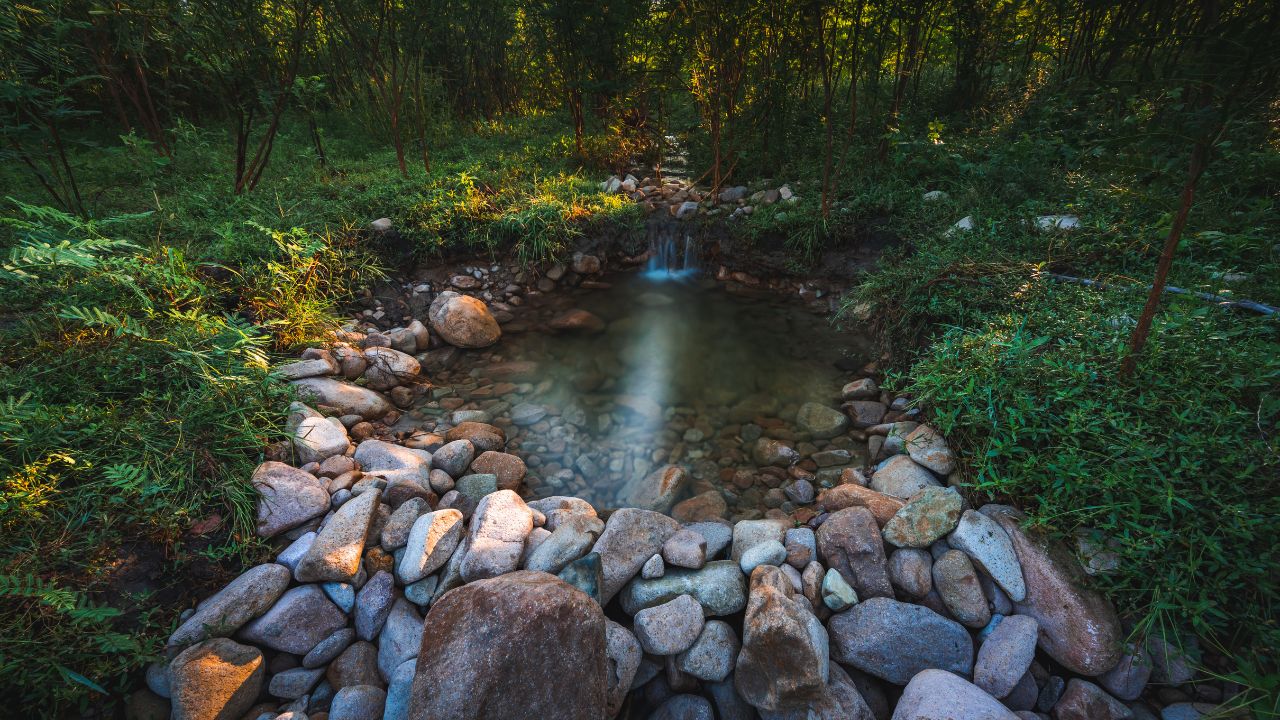
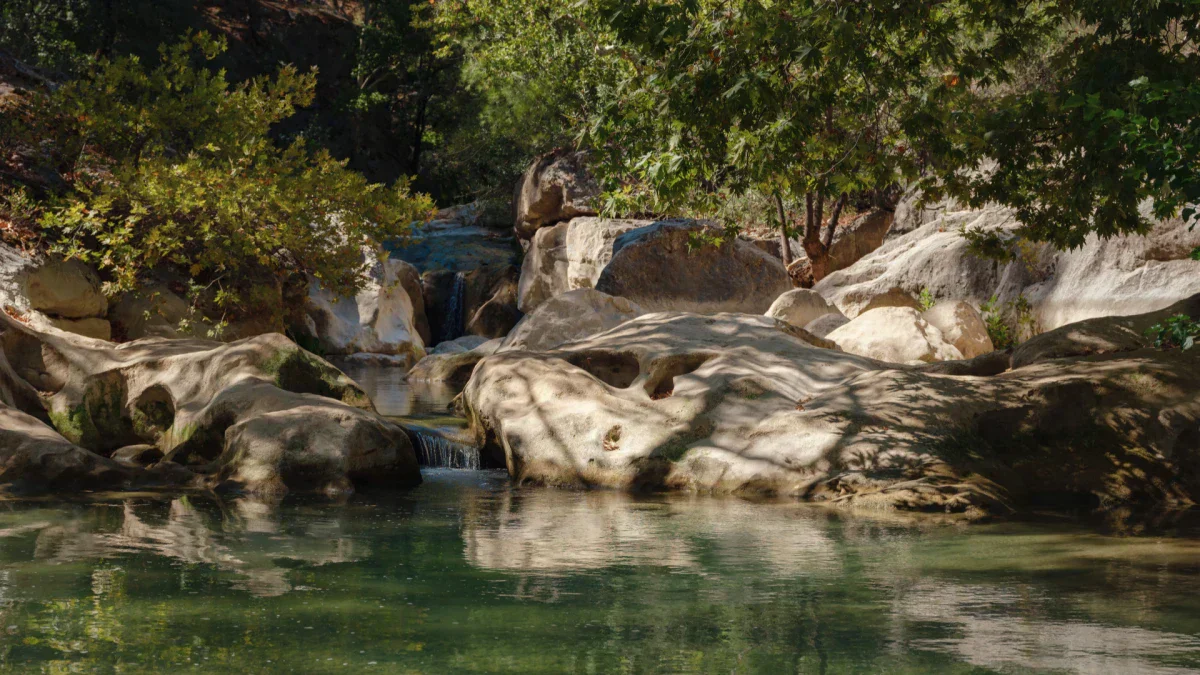
Edges and structure. Skip quarry-fresh stone. Reclaimed brick, “urbanite” (broken concrete slabs), driftwood (well cleaned), and site-gathered river rock build a natural rim for pennies. Pea gravel and sand are inexpensive and perfect for shallow shelves and planting pockets.
Plumbing odds-and-ends. Flexible hose, a few elbows, and a slotted drainpipe can form a DIY bog filter manifold. Buckets, milk crates, or perforated storage bins become media housings.
Plants (the real filtration). Buy bareroot native marginals and oxygenators (iris, marsh marigold, soft rush, hornwort) from a local nursery or a native-plant swap. They’re cheaper than potted ornamentals, better for biodiversity, and more resilient.
Circulation and light—without wiring. To avoid trenching or outdoor outlets, lean on Poposoap’s solar lineup:
- A Poposoap Solar Fountain Pump keeps the surface gently moving (discouraging mosquitoes and keeping oxygen up).
- A compact Poposoap Solar Pond Filter with layered foams and bio media handles daily water polishing.
- Poposoap Pond Lights (RGB or warm white) let you watch nighttime visitors while keeping energy use at zero.
Poposoap’s brand philosophy—“hassle-free garden products that bring beauty and joy”—fits a wildlife build perfectly: simple to place, easy to clean, and powered by daylight.
Money-Saving Construction Tips

Design to liner size. Liner comes in standard widths. Sketch a footprint that uses a cut efficiently so you’re not paying for offcuts you’ll never use.
Work with the land. Tuck the pond against a natural low spot or gentle slope so your waterfall or spillway can sit slightly higher without extra stonework.
Build shelves, not depth. Wildlife wants varied shallows (5–20 cm) more than a deep basin. Shallow shelves reduce liner stress, use less water, and create warm, micro-habitats for pollinators and amphibians.
DIY a bog instead of buying a pressurized unit. A gravel-filled bog section (or side barrel) does a stellar job of stripping nutrients—no expensive canister filter required.
Harvest rain. A simple diverter from a downspout into a rain barrel gives you free, dechlorinated top-off water.
Go solar to dodge electrical costs. Solar circulation and lighting eliminate permitting, GFCI outlets, and monthly power bills—core advantages for any cheap wildlife pond.
DIY Step-by-Step Instructions

Step 1: Choose and mark the site
Pick a spot with morning sun and afternoon shade. Keep it away from heavy runoff and overhanging feeders that drop seed hulls. Use a hose to outline an organic kidney shape; wildlife favors curves over straight edges.
Step 2: Dig smart, not deep
Remove turf and carve two shelves: a beach entry (0–5 cm under water) and a shallow shelf (10–20 cm). Leave a small deep pocket (40–50 cm) no larger than a doormat for thermal refuge during heat spikes. Compact the soil gently to prevent collapse.
Step 3: Underlay and liner
Lay underlayment (carpet/felt), then drape the liner loosely, pressing it into shelves without tugging. Leave 30–45 cm of overlap around the rim for edging.
Step 4: Edge and stabilize
Dry-stack reclaimed brick or river stone on the rim, pinching the liner in place. Backfill behind stones with soil and gravel so the rim sits level—critical for a clean waterline.
Step 5: Create a mini bog filter (budget edition)
On one side, sink a crate or bucket with holes drilled around the base. Lay a short length of slotted pipe or a perforated T under it. Run your pump outlet into the bottom so water rises through gravel and plant roots (iris, pickerel rush). This is your “bio-reactor” that quietly handles nutrients.
Step 6: Add circulation the easy way
Drop in a Poposoap Solar Fountain Pump near the center, facing away from the bog to promote circular flow. If your footprint is larger or slightly deeper, pair it with a compact Poposoap Solar Pond Filter to catch fines while the bog does the heavy lifting. No cables, no trench—place the panel on its stake in full sun.
Step 7: Plant for habitat
- Marginals on shelves: iris, arrowhead, marsh marigold.
- Floaters in the center: water lettuce or hyacinth (where legal) for quick shade.
- Oxygenators below: hornwort or elodea to stabilize oxygen and give tadpoles cover.
- Use gravel to cap soil in plant baskets so fish (if any) or frogs don’t uproot them.
Step 8: Fill and cycle
Fill slowly. If using tap water, dechlorinate. Run the fountain and bog a few days before introducing any life. Early on, the water may look hazy; clarity settles as bacteria colonize the media.
Step 9: Invite wildlife
Place a sunny flat rock for basking, plus a gentle ramp (a branch or stacked stones) so small mammals or birds can exit if they fall in. Avoid stocking predatory fish if your goal is amphibians; a few native minnows are fine, but fish will reduce tadpole success.
Step 10: Light the stage (optional)
Clip Poposoap Pond Lights under a rock lip to spotlight visiting moths, bats, and late-night frogs—magical, and still off-grid.
Safety and Ecological Considerations
Go native, avoid invasives. Many ornamental floaters spread aggressively. If in doubt, ask a local extension office or native plant society before buying.
Keep a beach zone. A 0–5 cm shelf is essential so bees and birds can drink without risking a swim. Shallow water heats quickly, which pollinators prefer early in the day.
Mind runoff. Fertilizer and herbicide drift can crash a pond’s balance. Leave a gravel berm or swale uphill to catch stormwater before it reaches the pond.
Dechlorinate and acclimate. If you ever add fish or snails, match temperature and water chemistry. Avoid sudden pH swings.
Winter & summer resilience. In hot spells, keep the fountain running to vent CO₂ and add oxygen. In cold climates, a small open patch of surface (maintained by solar circulation) is enough for gas exchange—no need to smash ice.
Child and pet safety. Edge with stones that sit slightly above water and keep slopes gentle. In busy yards, add a low fence or plant a shrub barrier.
Leave some mess. A little leaf litter feeds micro-invertebrates; over-cleaning starves the food web. Scoop only heavy mats.
Poposoap Economic Version Recommendation

To keep a budget wildlife pond thriving with minimal cost and zero wiring, combine three solar, plug-free essentials:
- Poposoap Solar Fountain Pump — Core circulation that gently agitates the surface, discouraging mosquitoes and improving oxygen. Multiple nozzle options let you pick a soft burble (wildlife-friendly) instead of a tall jet.
- Poposoap Solar Pond Filter — A compact box with layered foams and bio media that catches fines and gives bacteria a permanent home. Drop-in design, simple rinse cleaning, and daylight operation make it perfect for affordable pond DIY builds.
- Poposoap Pond Lights — Low-profile, fully submersible units (RGB or warm white) you can nestle under a rock lip to admire nocturnal visitors without attracting swarms of insects. Because they’re solar, they preserve the “no-bill” promise.
Scaling up later? Add a Poposoap Waterfall Kit for a thin, oxygen-rich sheet of water that returns from your bog—boosting turnover without raising power costs. If trees shade the site, Poposoap’s battery-compatible solar sets bridge passing clouds so flow stays consistent.
Poposoap’s approach—modular, daylight-powered, ABS housings designed for outdoor abuse—means your pond’s life-support runs wherever the sun reaches. That’s ideal for renters, schools, and anyone attempting a cheap wildlife pond with no appetite for electrical work.
Quick Operating Routine (So It Stays Cheap and Cheerful)
- Weekly (5 minutes): Skim floating leaves, check that the solar panel is clean, and swish the filter’s coarse foam in a bucket of pond water if flow drops.
- Monthly (15 minutes): Thin fast-growing plants, top up gravel in plant baskets, and vacuum a little mulm from the deepest pocket.
- Seasonal (30–60 minutes): Reposition the panel for winter sun or summer shade, divide crowded iris, and refresh a portion of the bog gravel if it compacts.
These little habits prevent big expenses later and keep the ecosystem stable for the creatures you’re hoping to host.
Final Thoughts: Wild, Low-Cost, and Wonderfully Alive
A small, well-planned pond will out-perform a big, over-engineered one—especially when your aim is birdsong, dragonfly patrols, and the spring croak of new frogs. With recycled stone, bareroot natives, and daylight-powered circulation from Poposoap, your budget wildlife pond becomes a self-running habitat rather than a chore. Start small, think shallow, and let plants and microbes do the heavy lifting; the result is an affordable pond DIY you’ll be proud to call the wildest square meters on your property.
Leave a comment
All comments are moderated before being published.
This site is protected by hCaptcha and the hCaptcha Privacy Policy and Terms of Service apply.