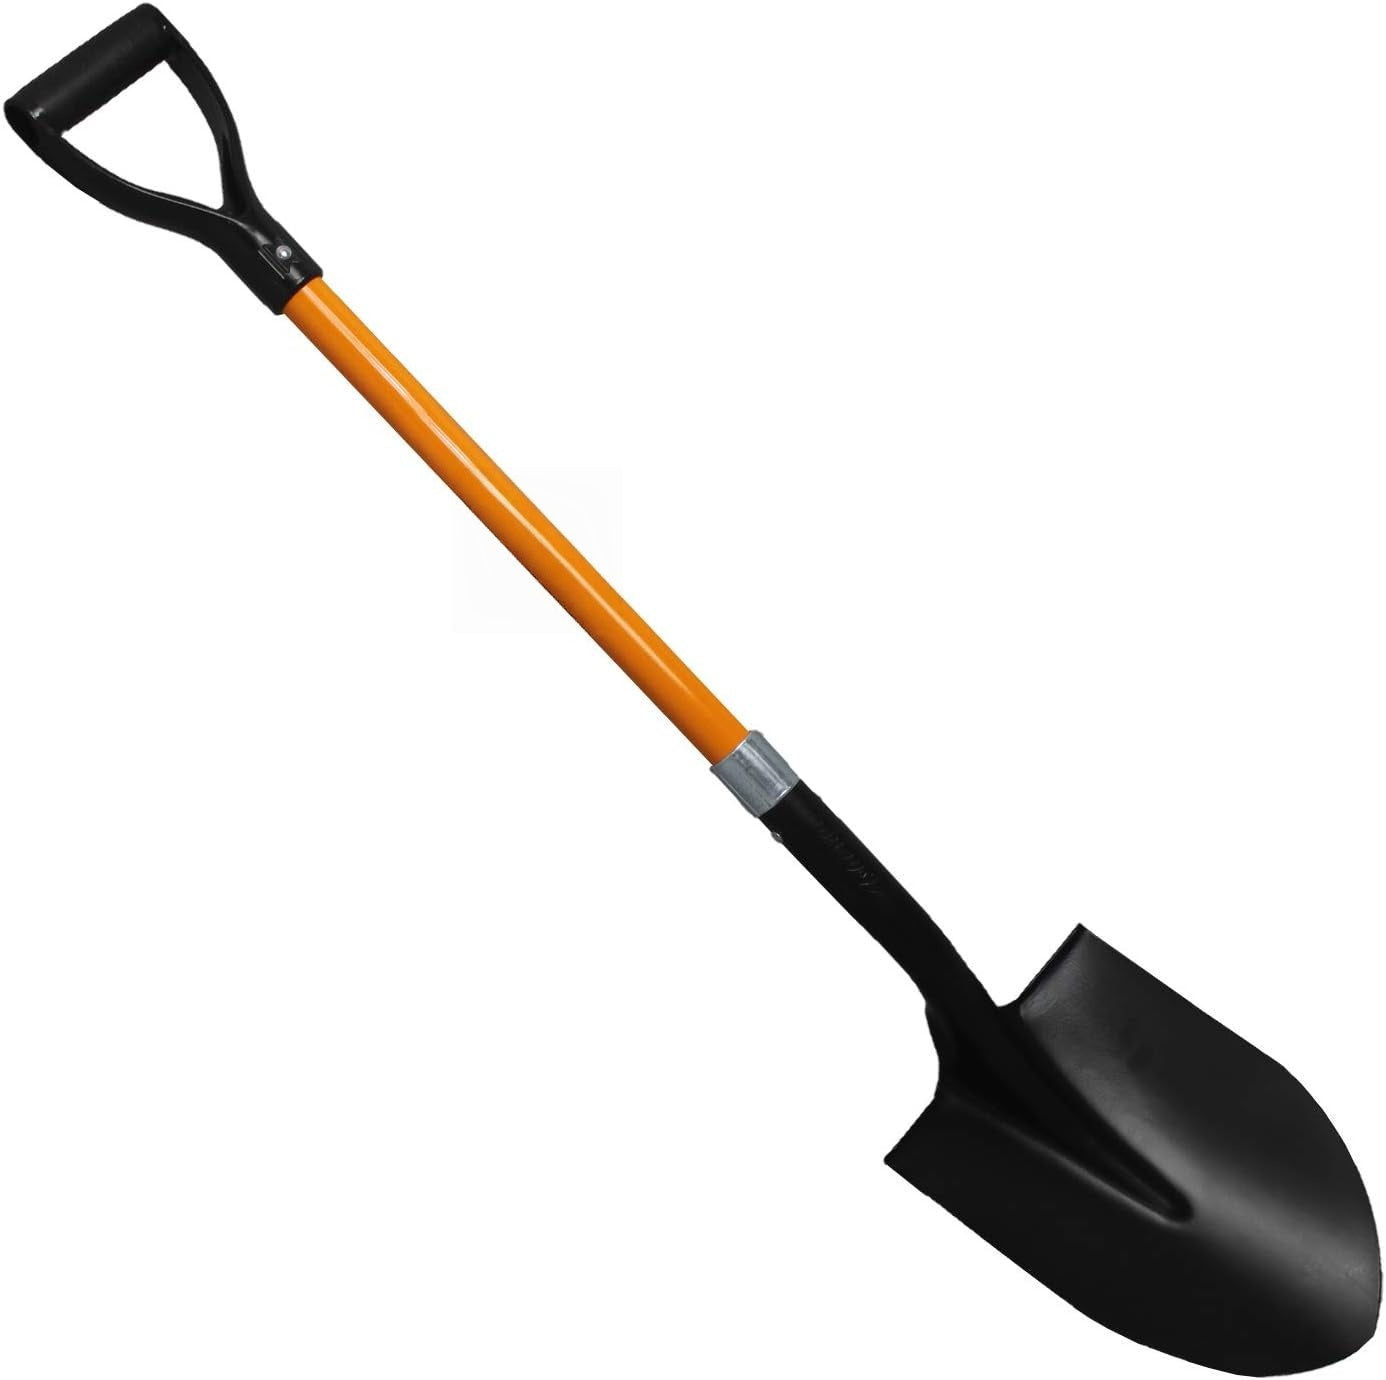
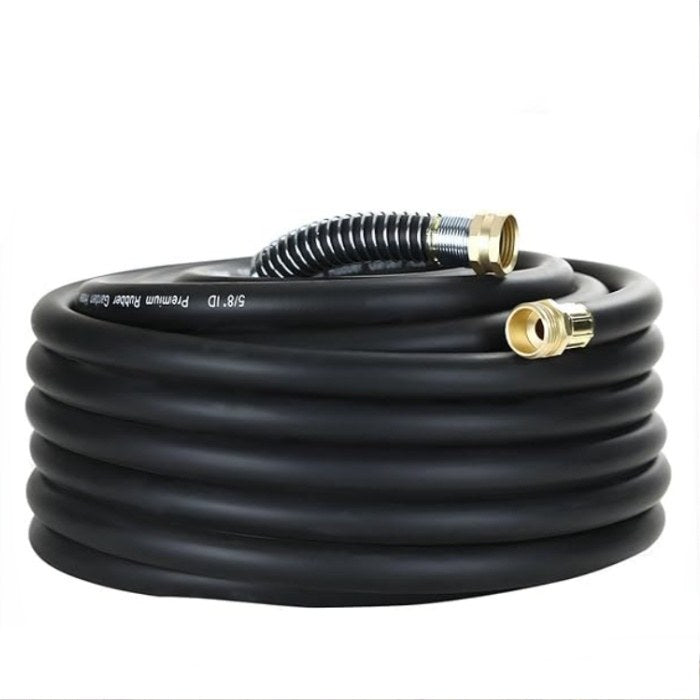
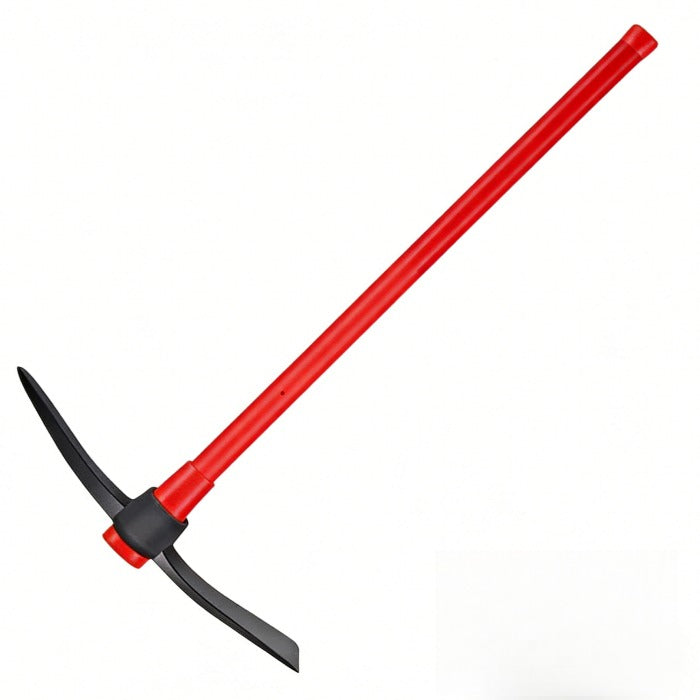
Items Needed
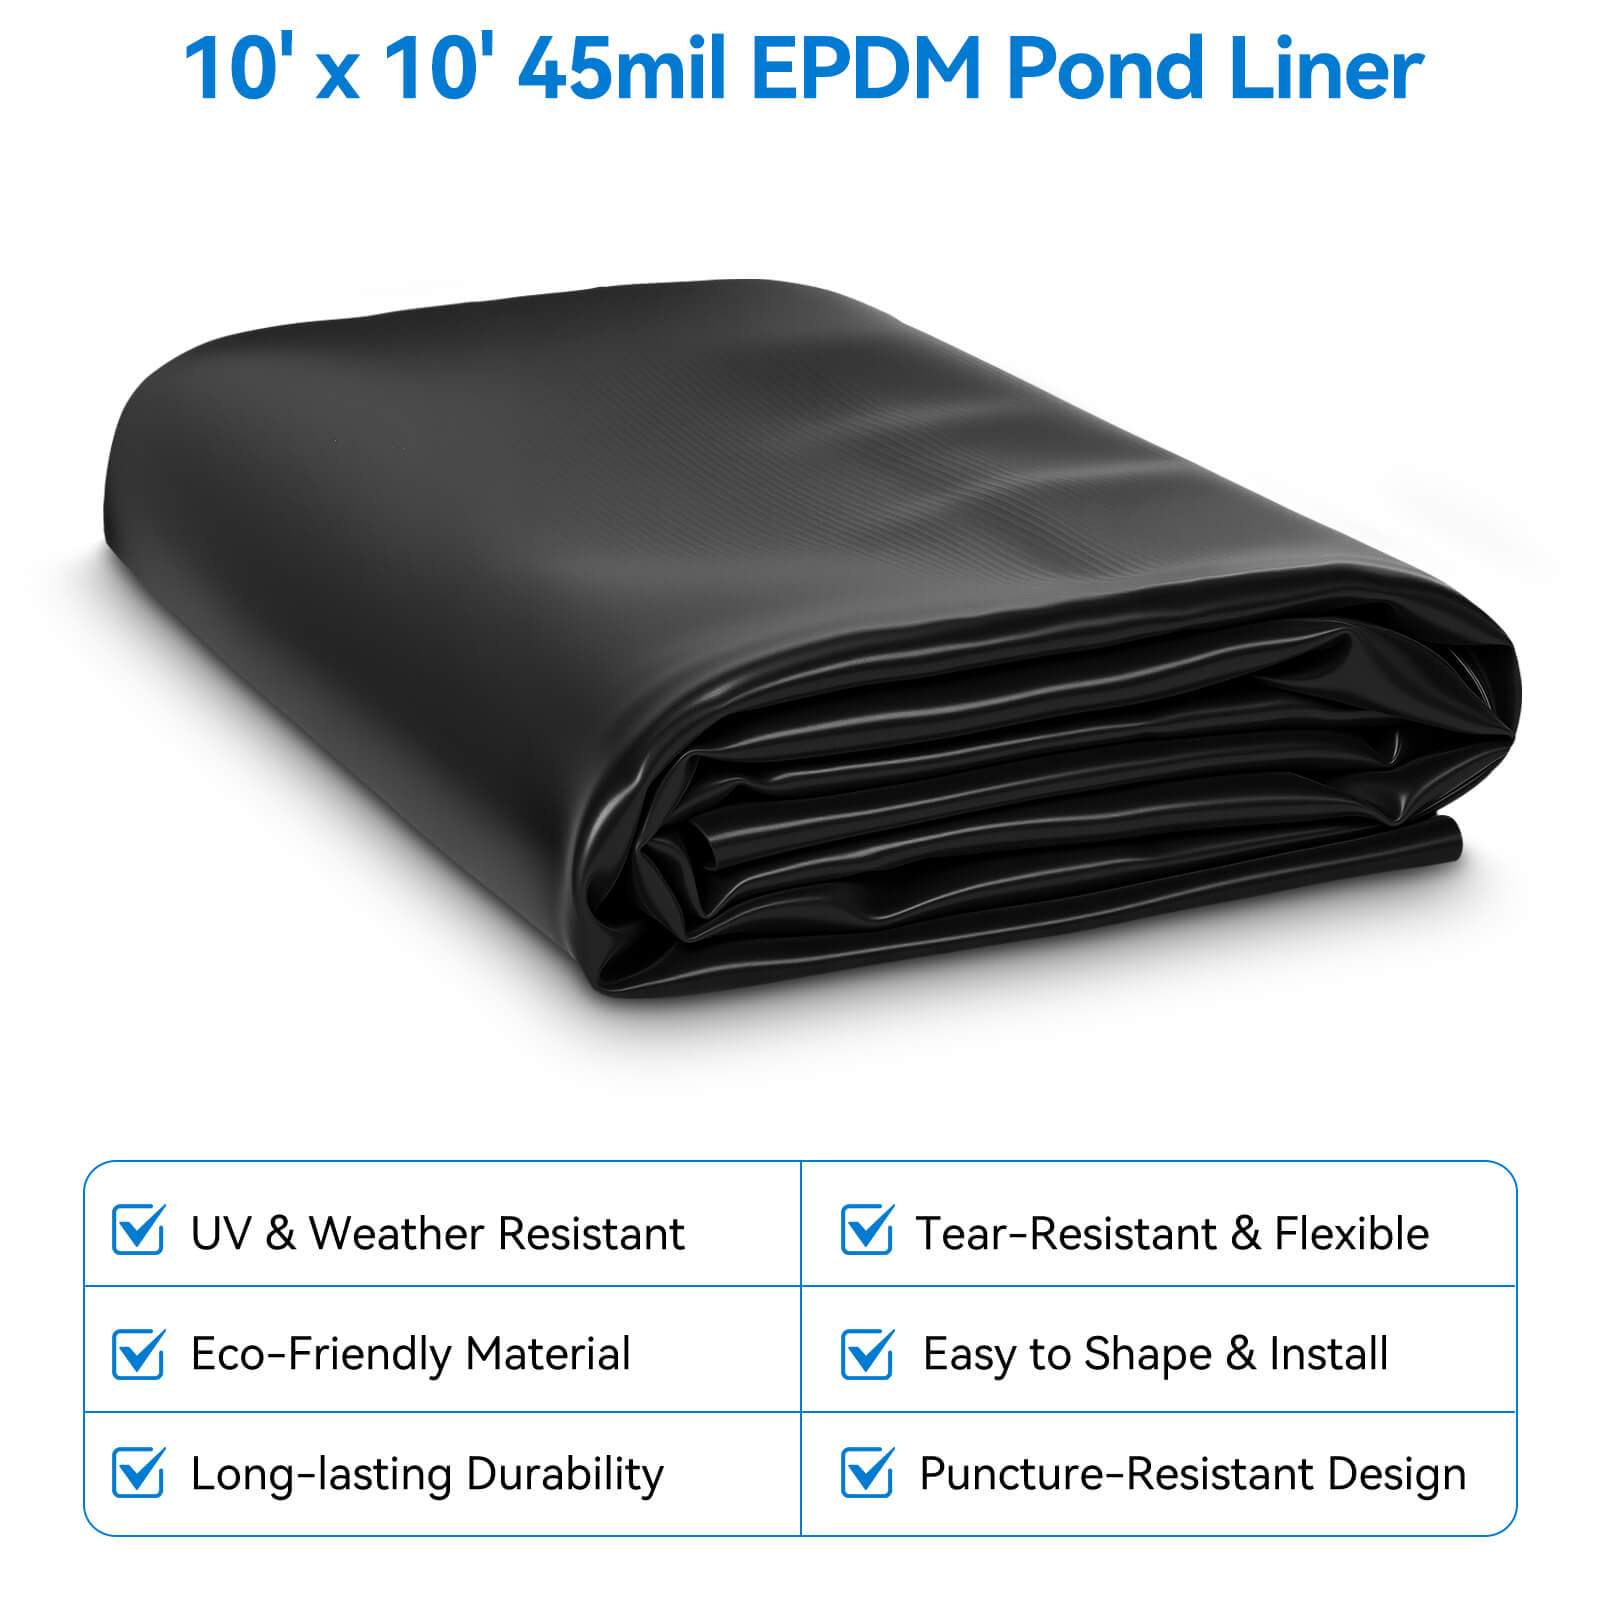
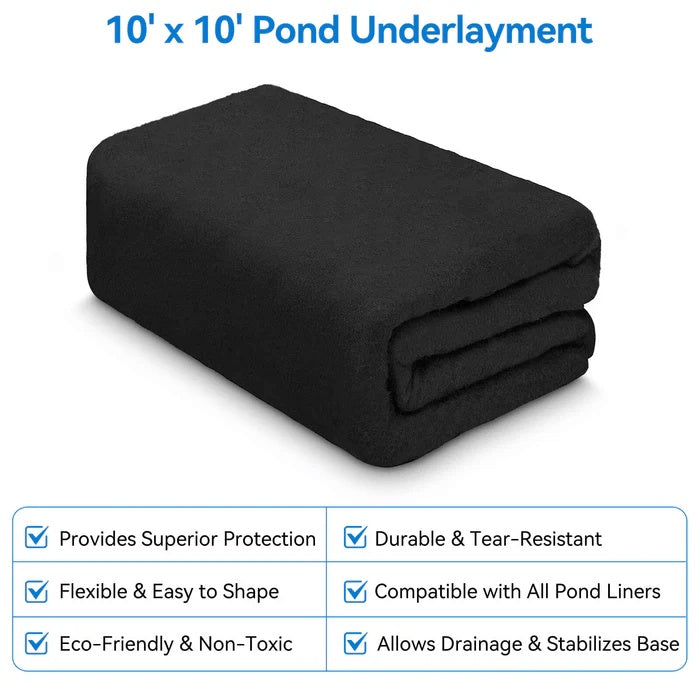
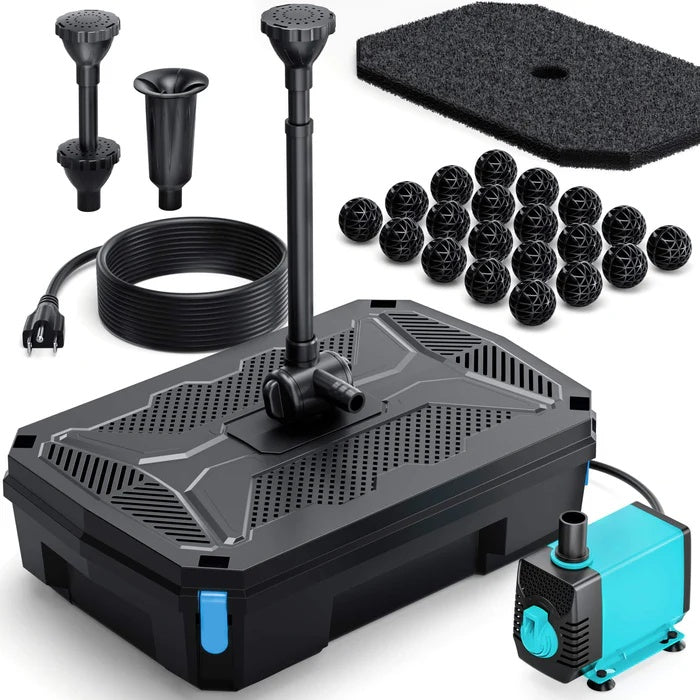
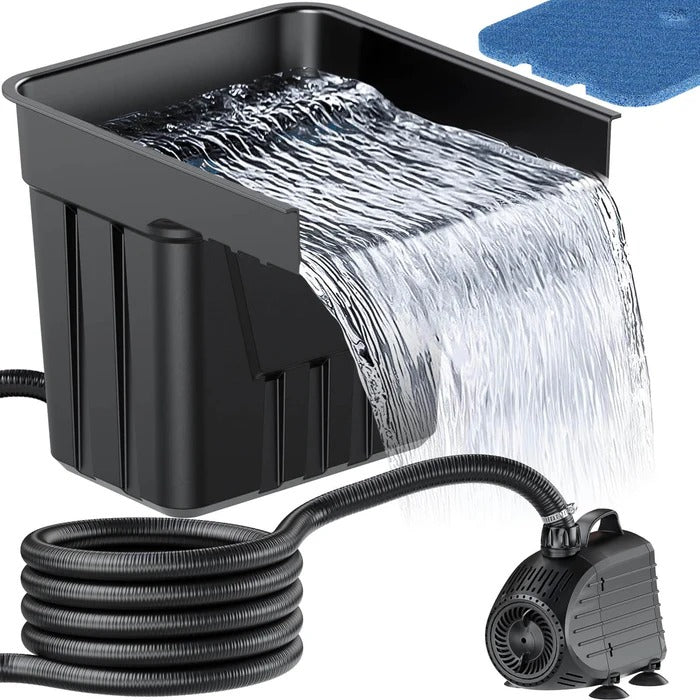

Step 1: Site Selection Planning
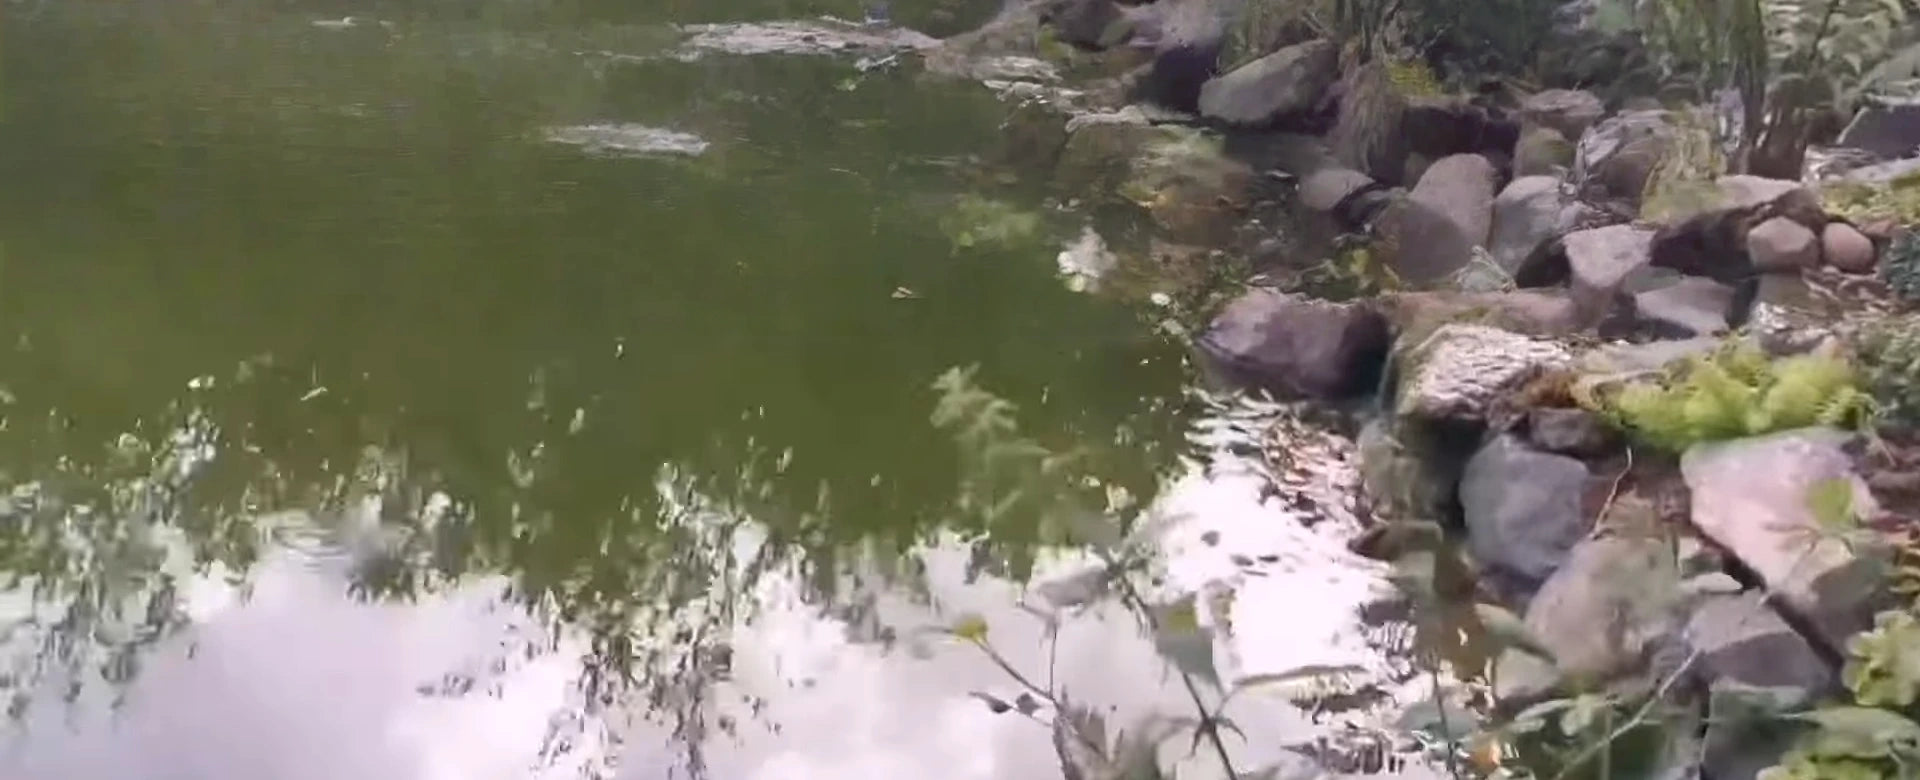
1. Select areas with easy access to water and electricity; if using solar equipment, power supply can be disregarded.
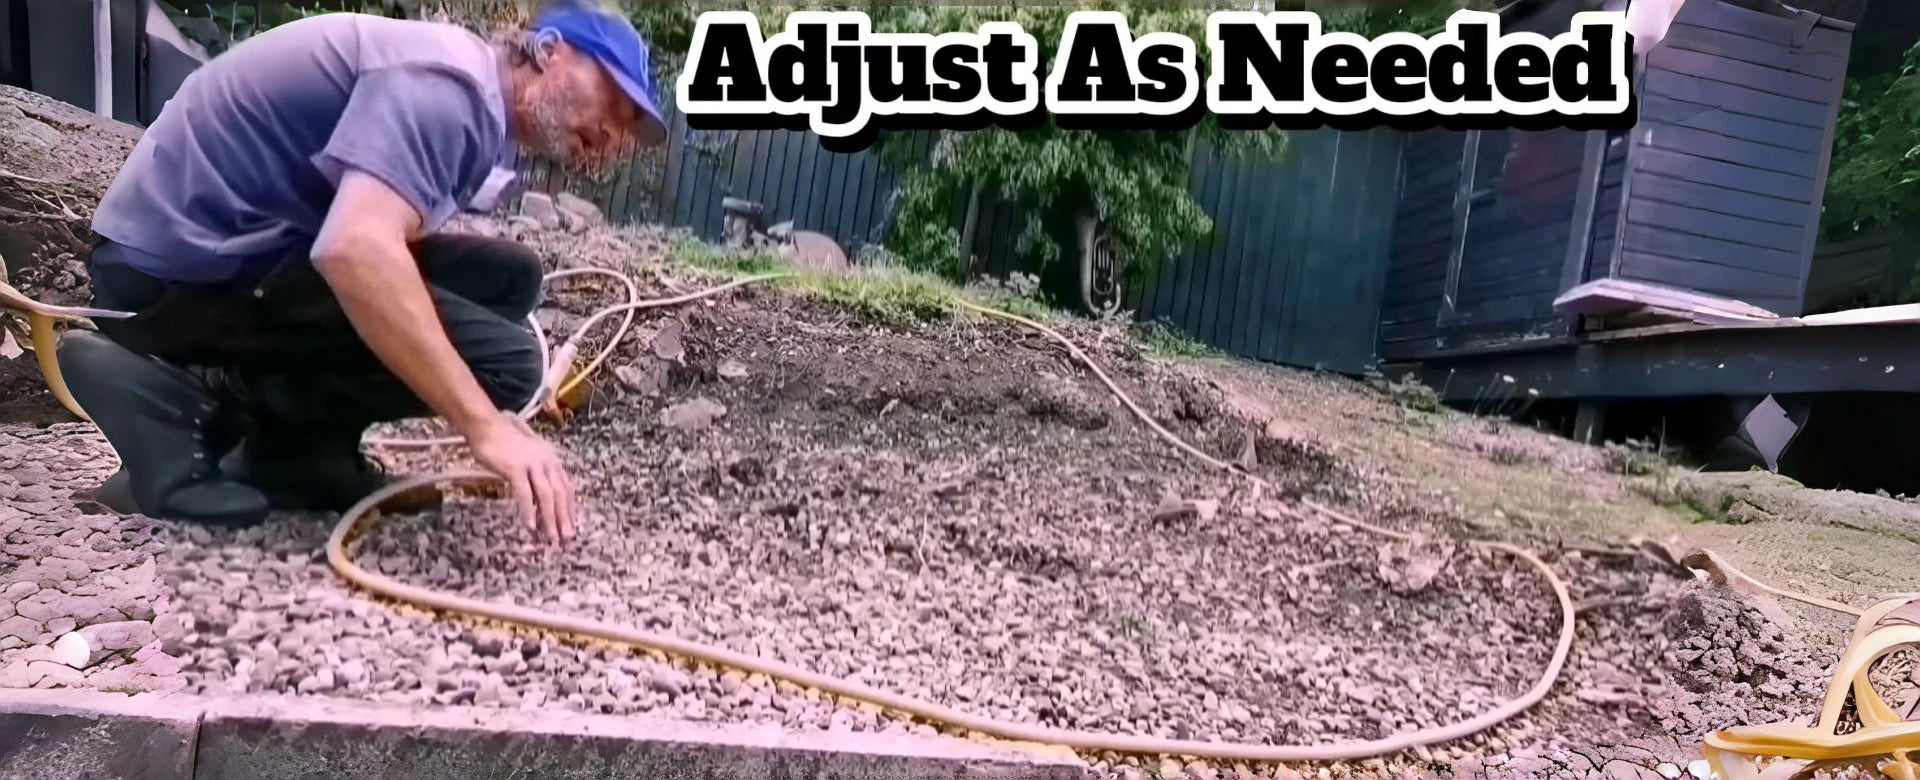
2. Use a hose, rope or marking paint to get a rough shape.
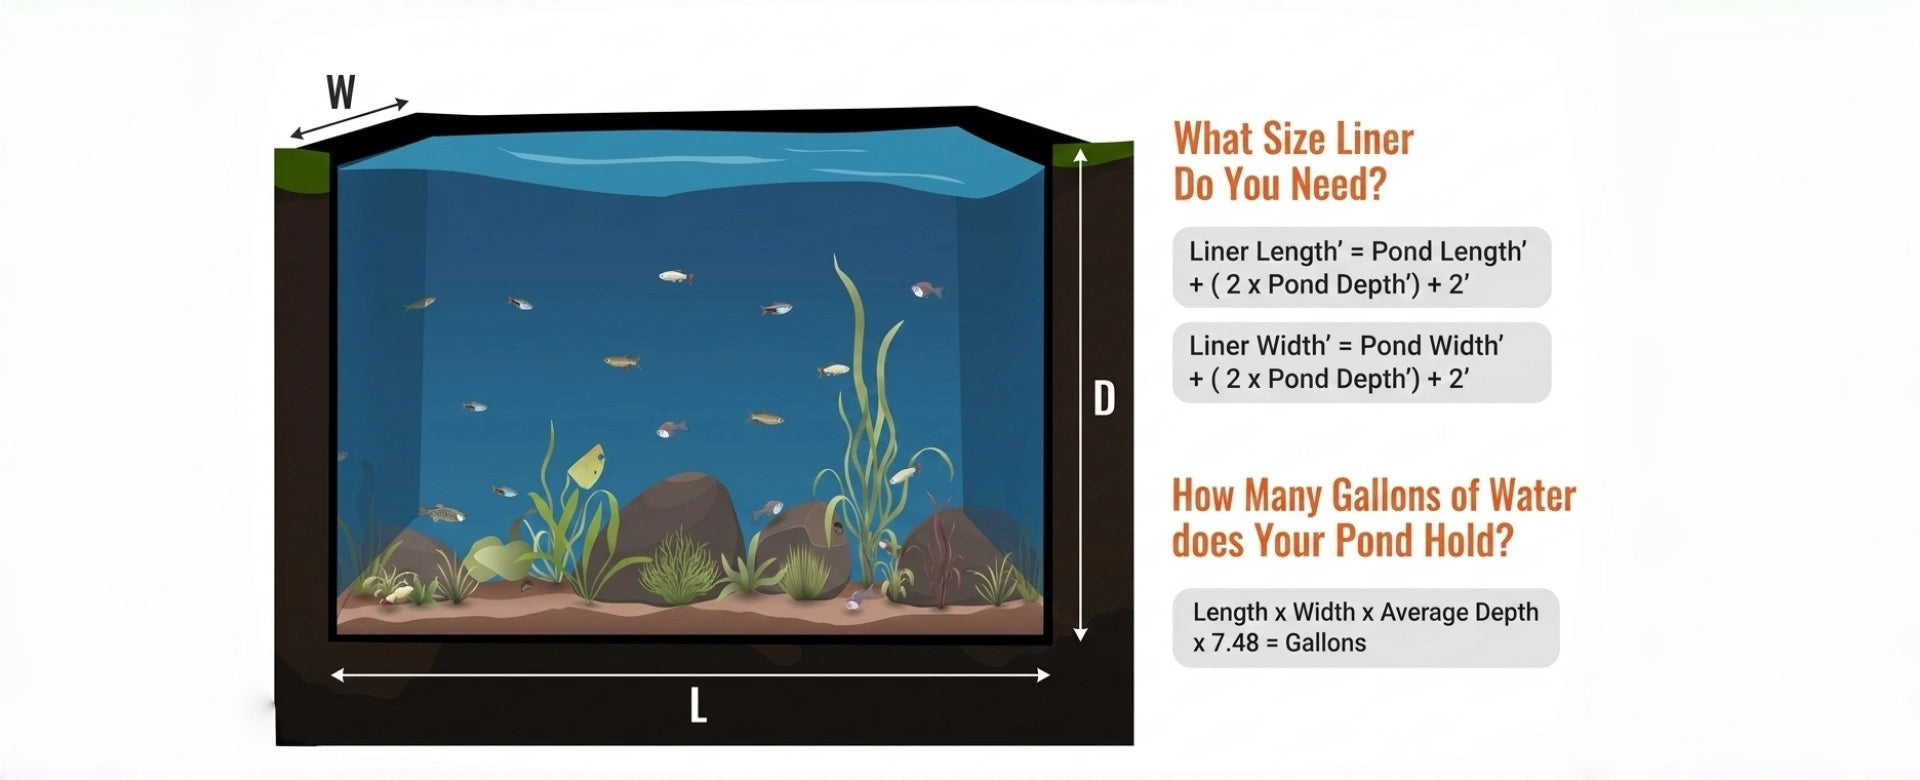
3. Pond liner size calculation.
Step 2: Main Pond Excavation
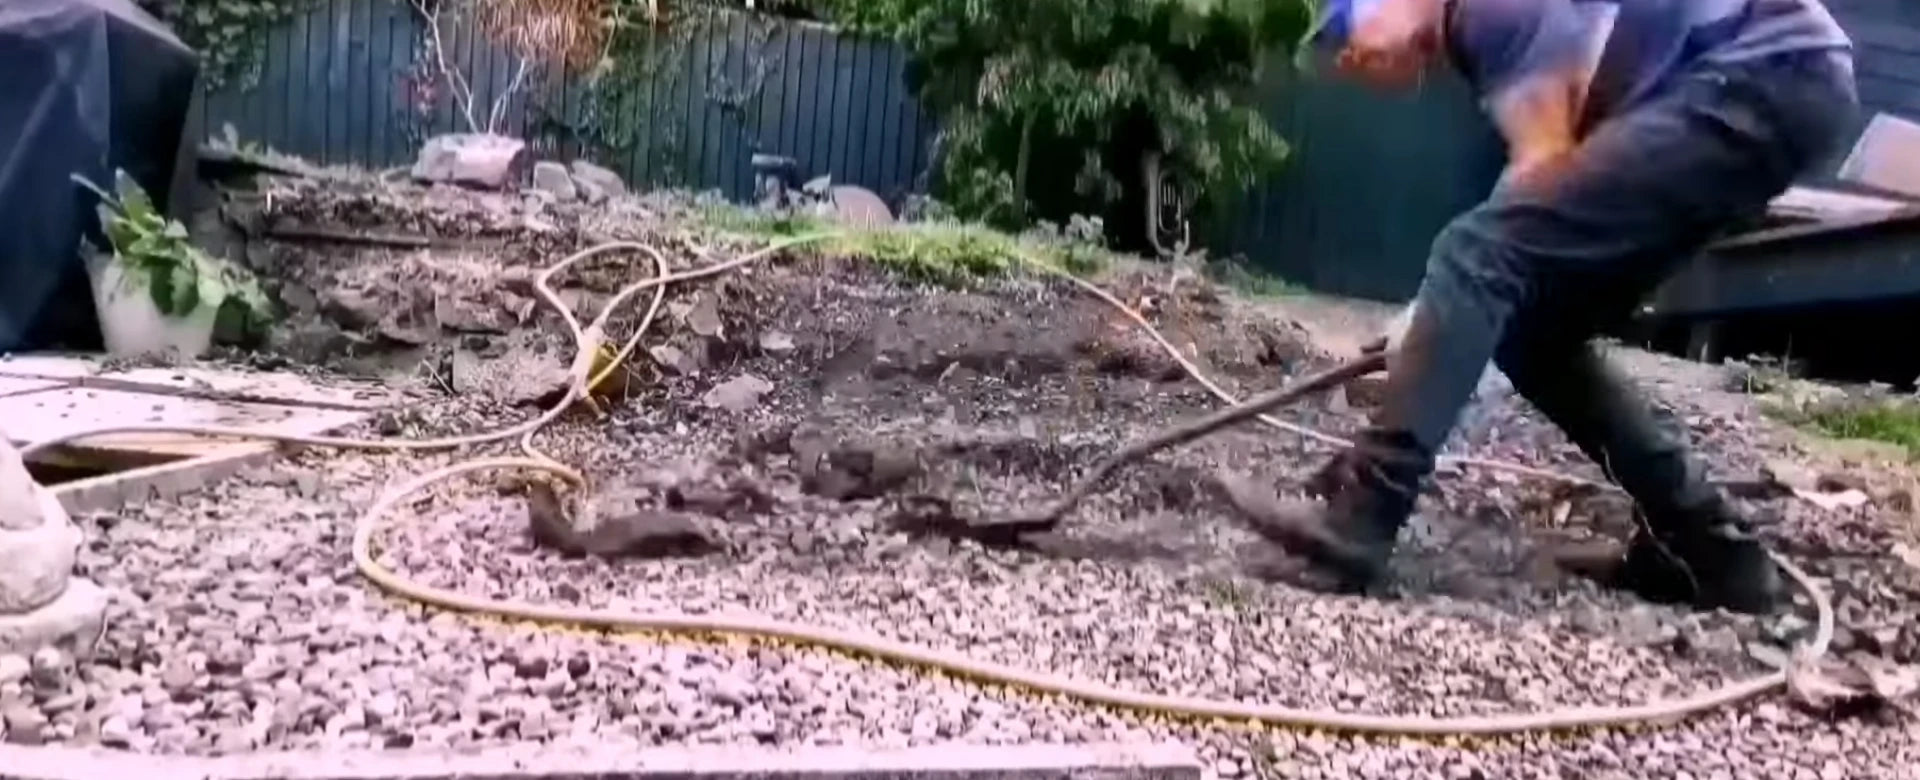
4. Dig outward from the center. The center of the fish pond should be 30 in deep.
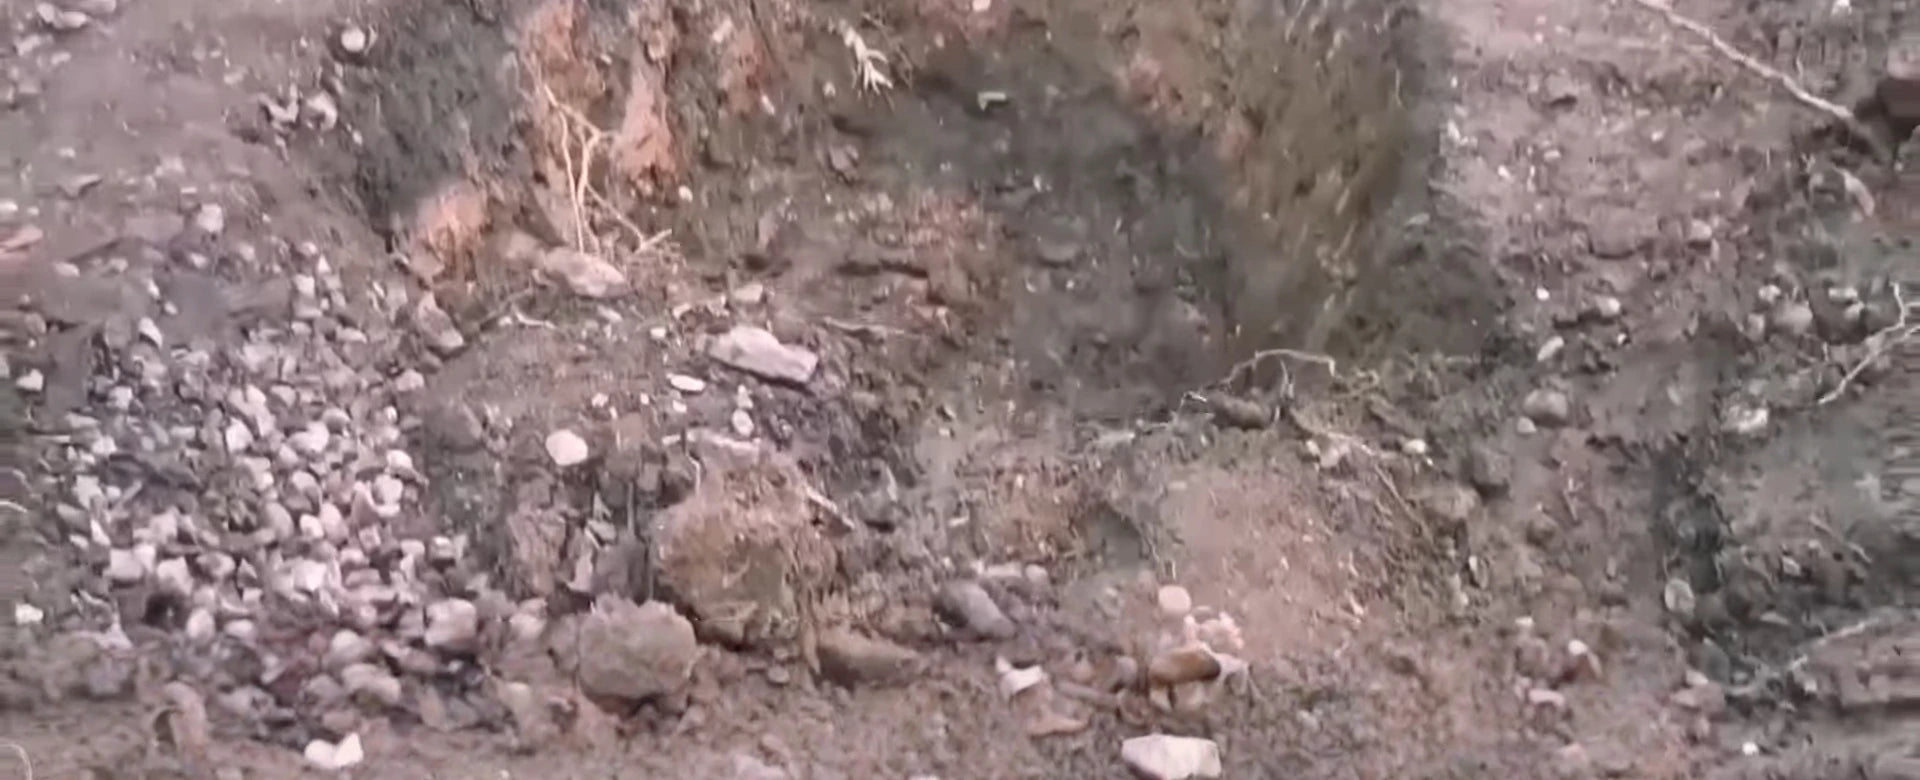
5. Clear away any loose gravel from the surface and continue digging to the final depth (30 in).
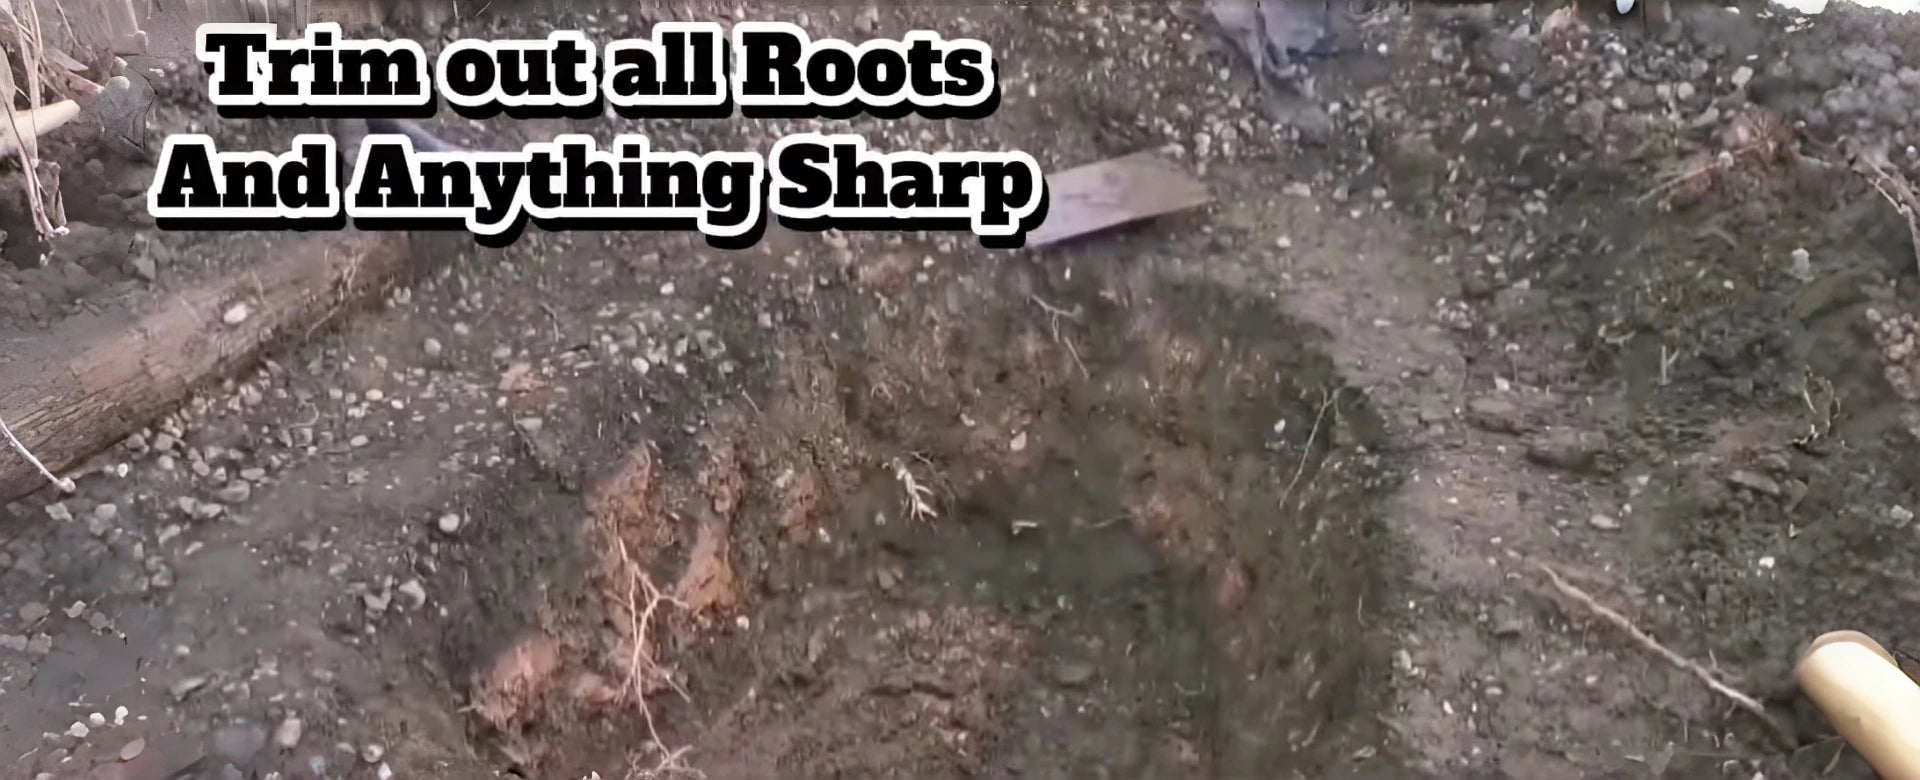
6. Trim out all roots and anything sharp.
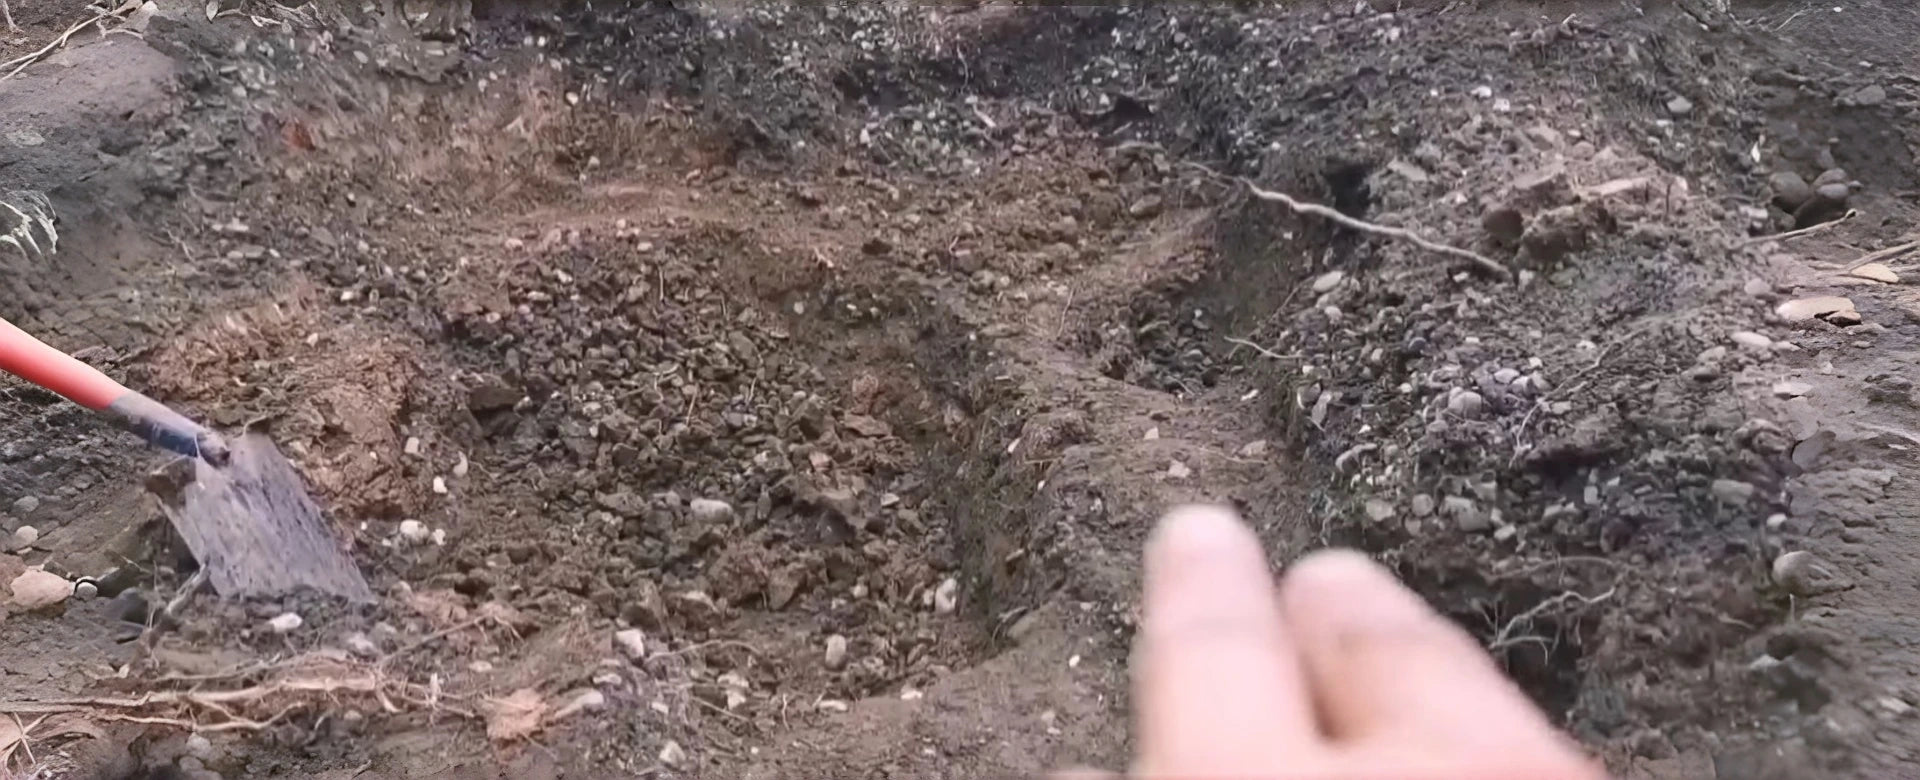
7. Add multiple shelves to the pond walls and dig them to be level or slightly sloped backward.
Step 3: Waterfall Area Planning
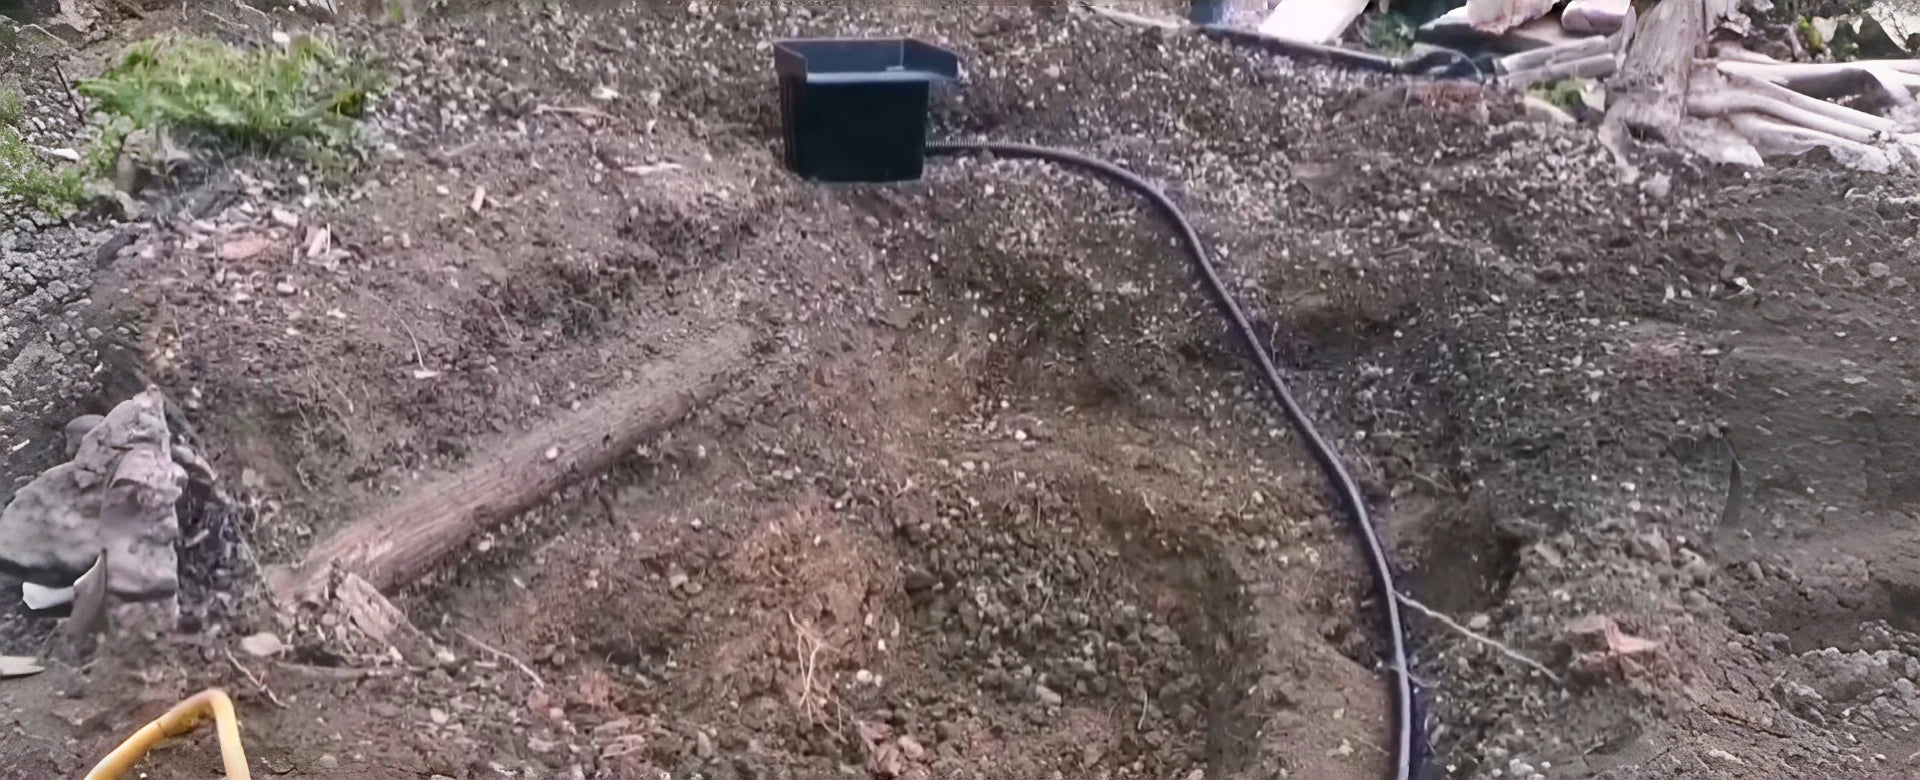
8. Determine the location of the overflow tank and plan the flow path of the waterfall
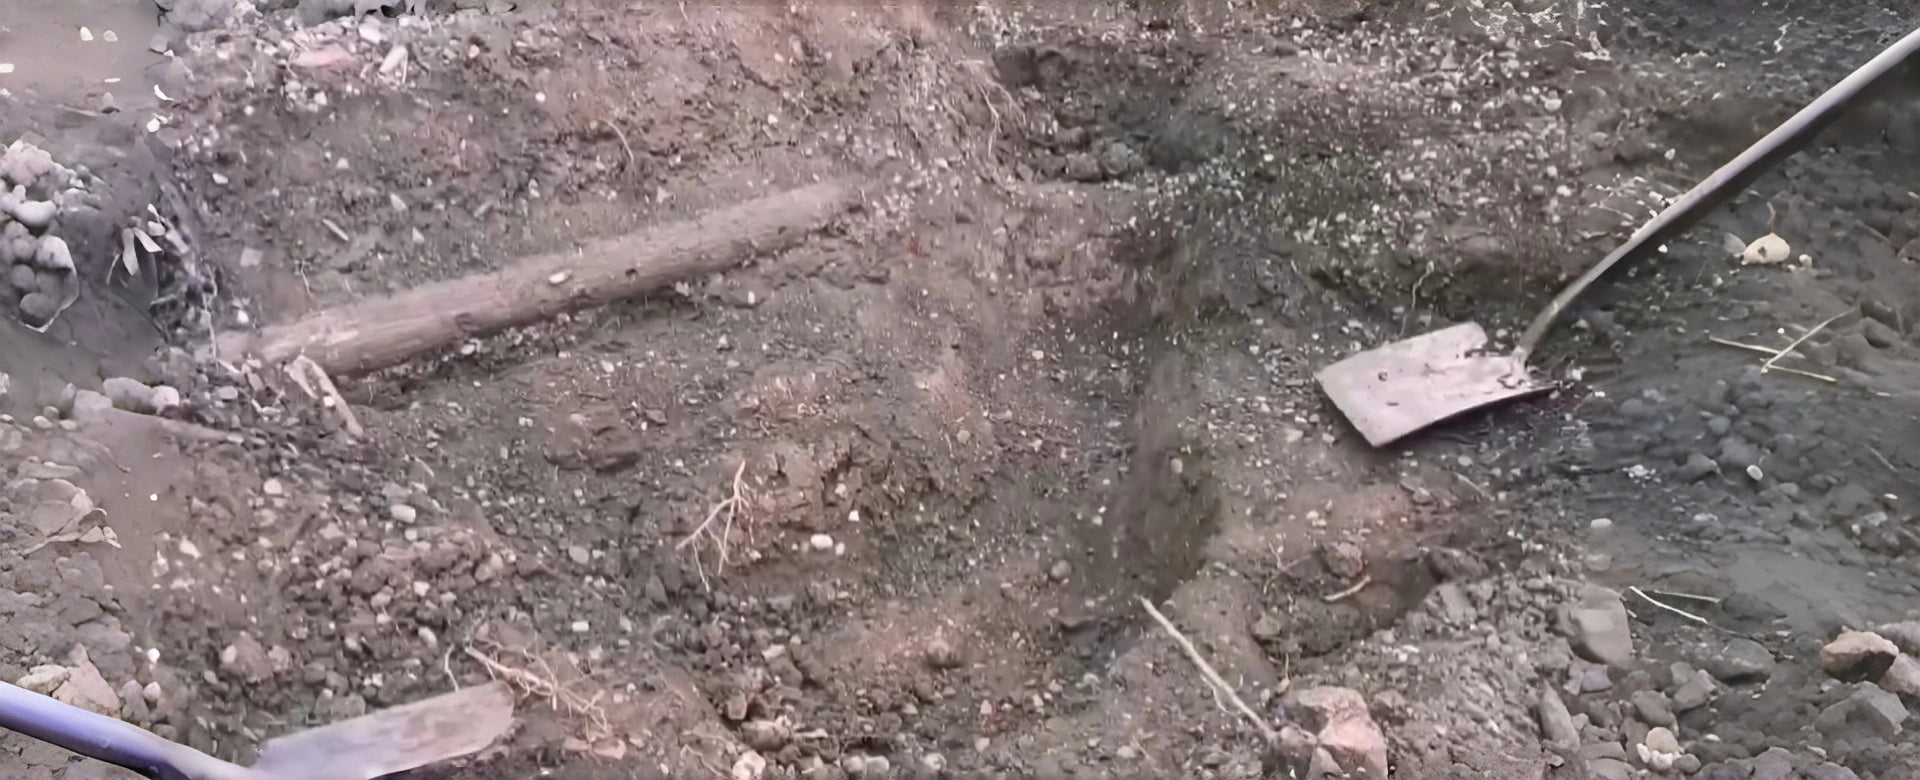
9. Dig a stepped waterfall channel downward
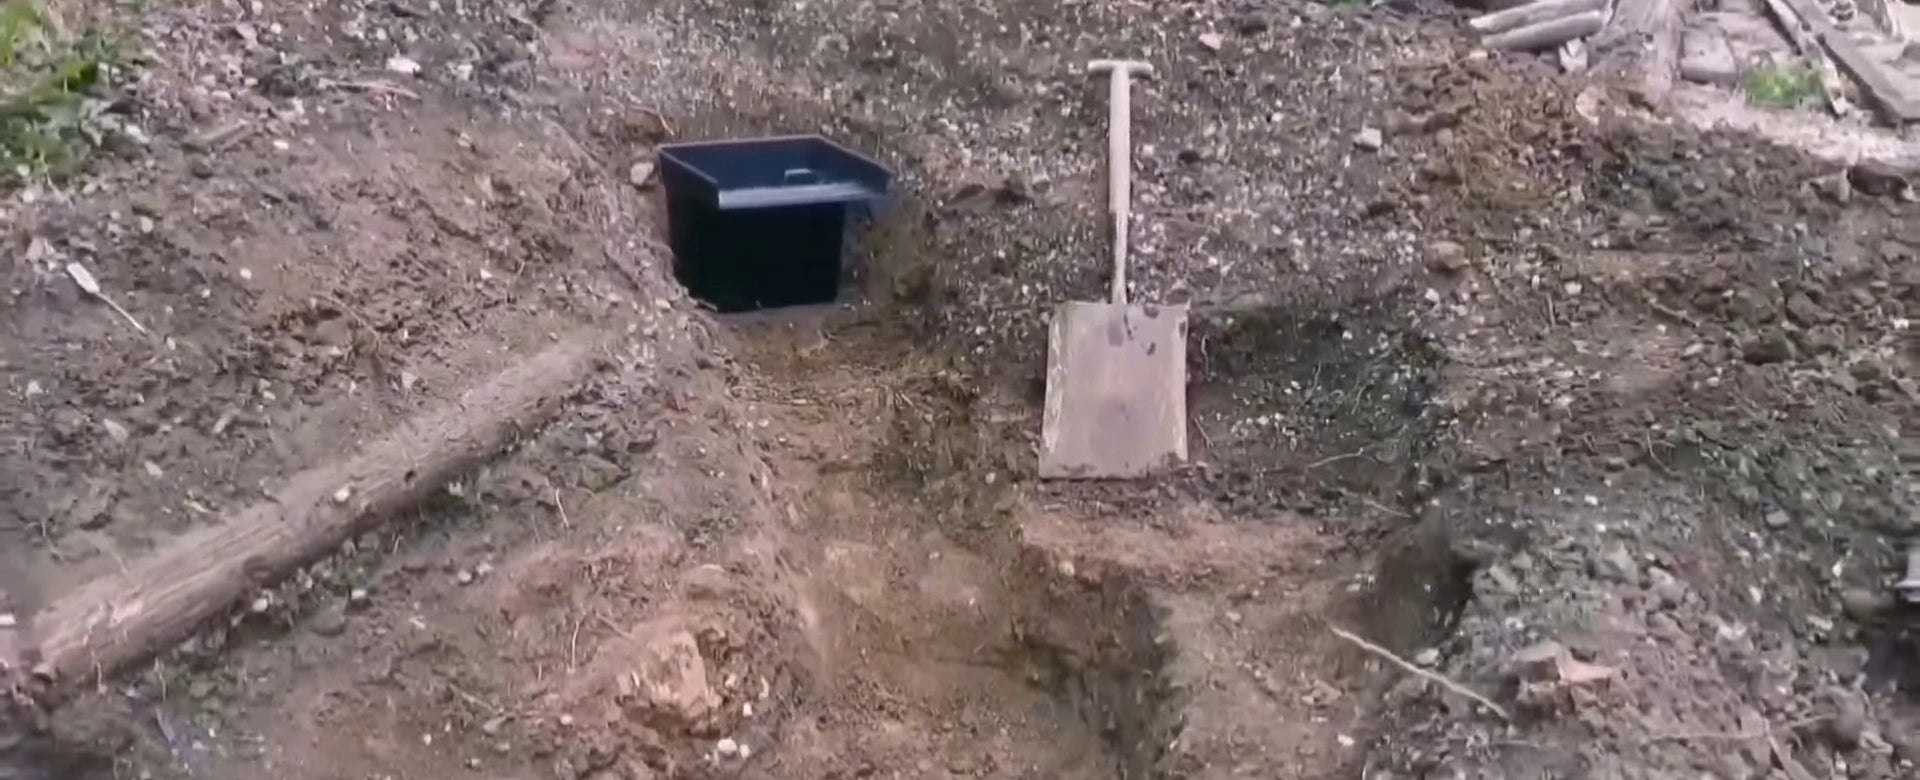
10. Trim exposed tree roots, check for sharp protrusions by hand, and remove loose soil.
Step 4: Laying the pond liner and underlayment
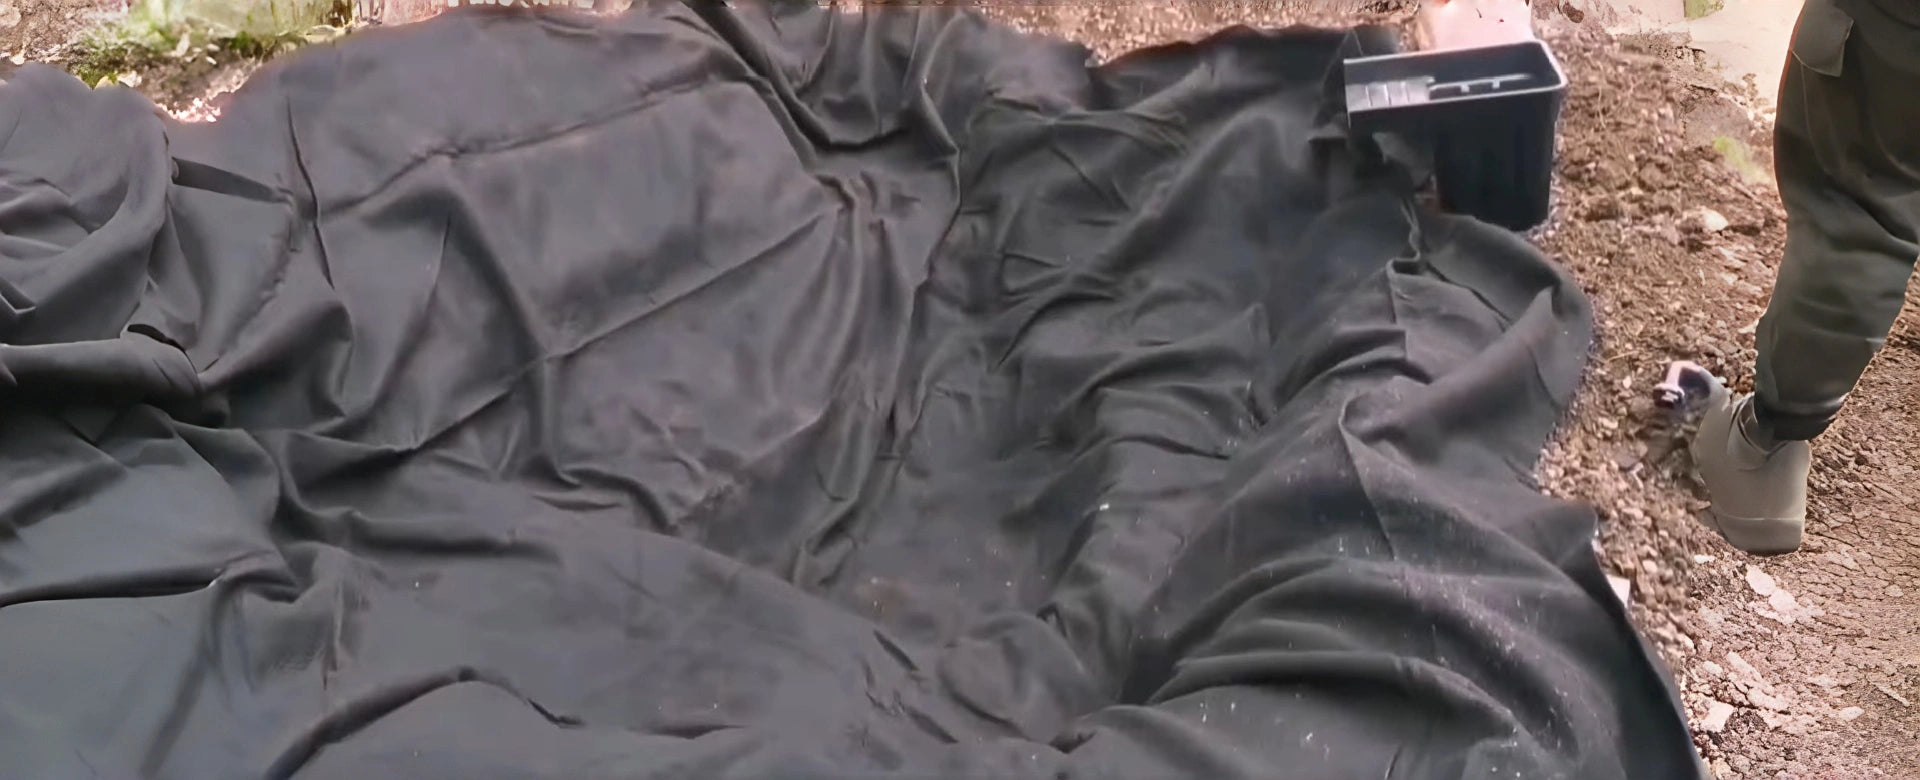
11. Lay the pond liner and adjust it so that it fits snugly against the pond walls.

12. Check again to make sure no stones have fallen into the lower level.
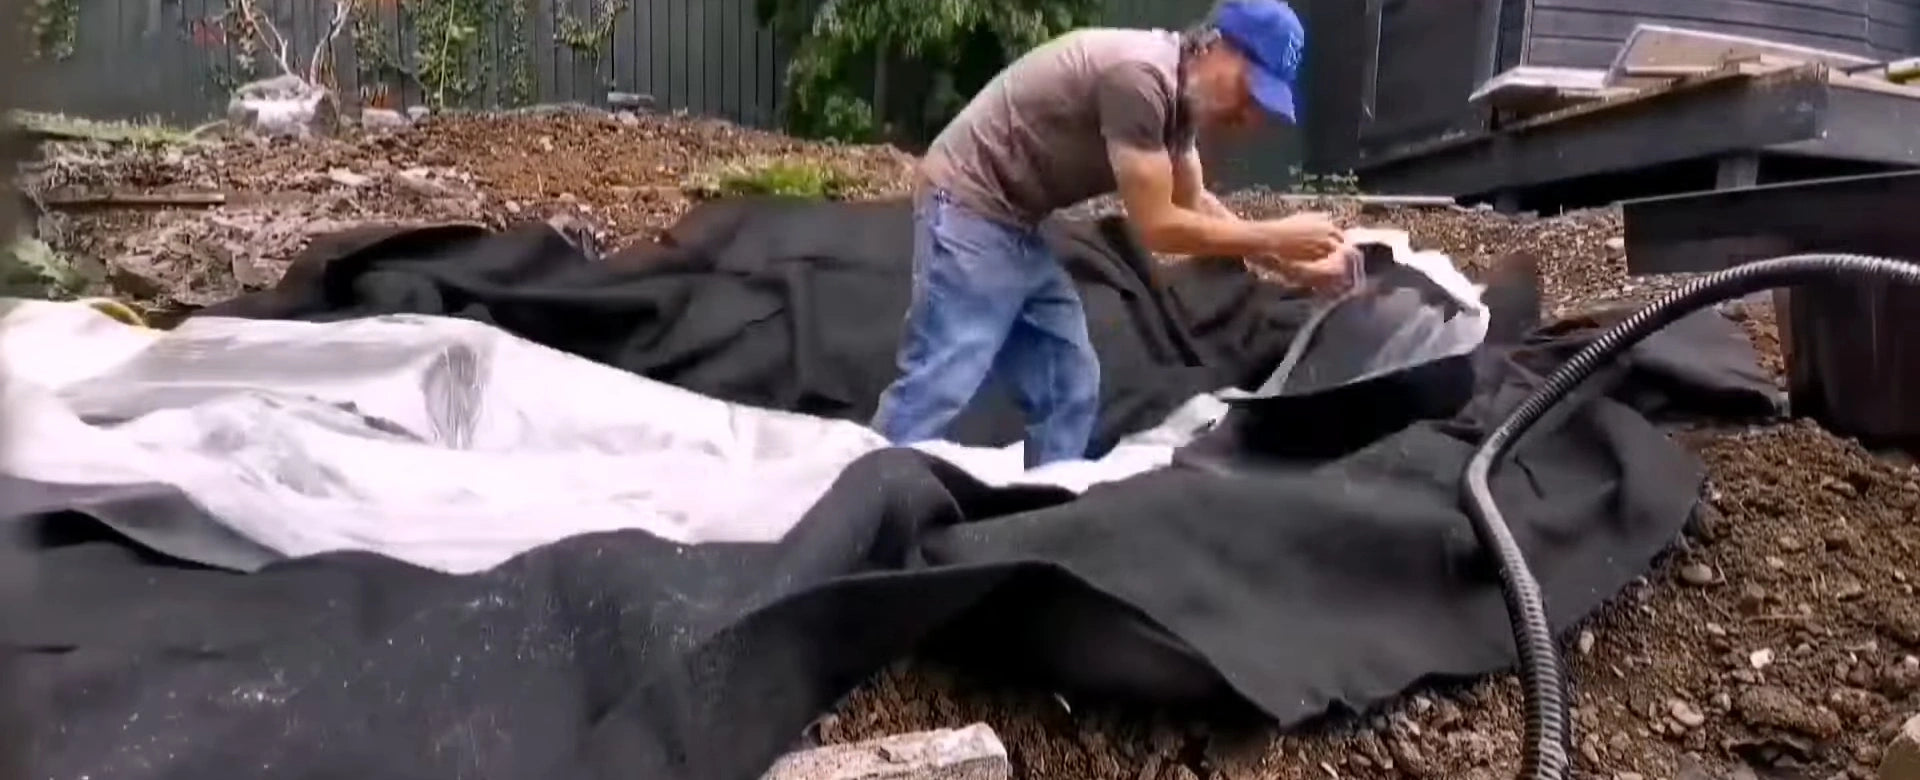
13. Unroll the EPDM main liner from the center outward, without dragging it.
Step 5: Water Resistance Test
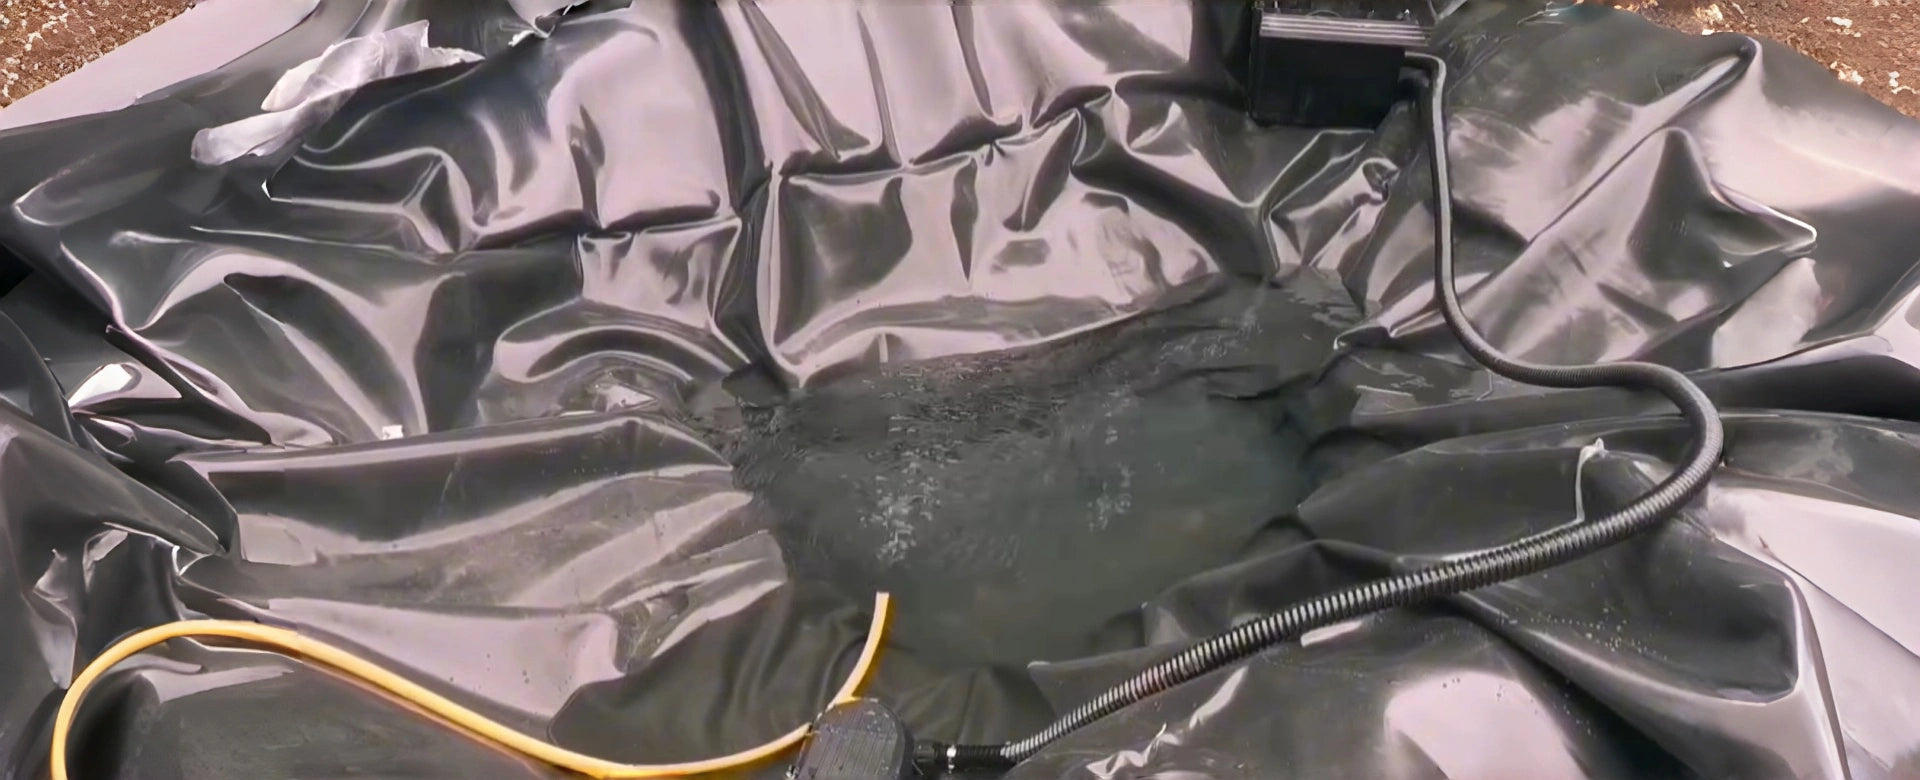
14. Adding some water can help pull out creases.
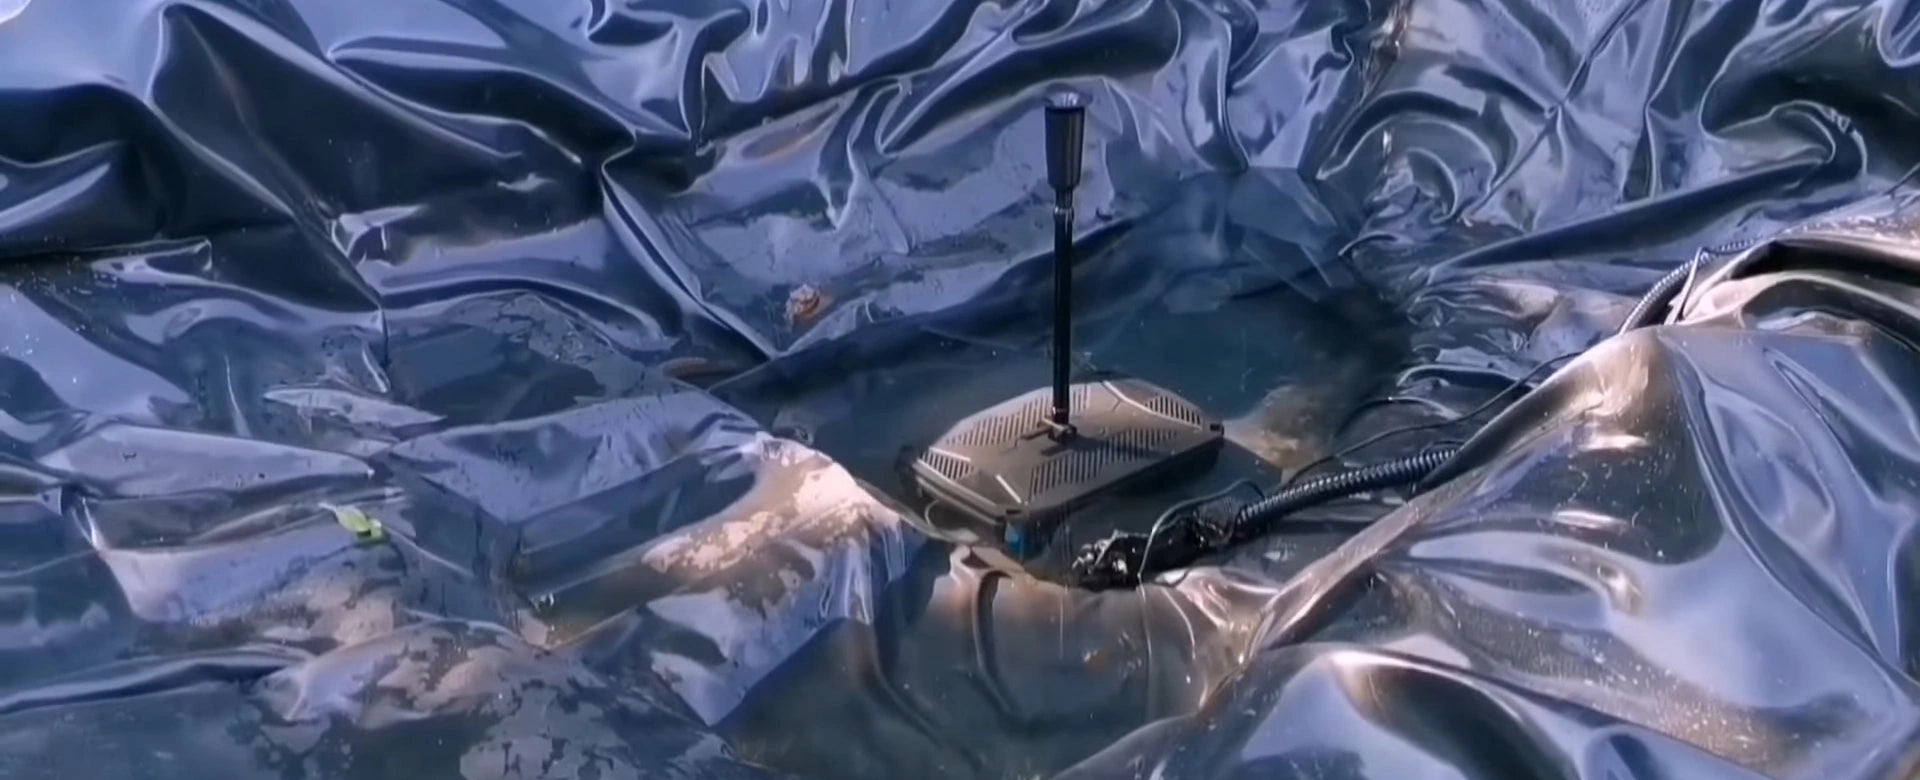
15. Wait 24 hours, if there are no leaks, drain the water and prepare to install the waterfall.
16. Drain the water to prepare for building the waterfall structure
Step 6: Waterfall Construction and Decoration
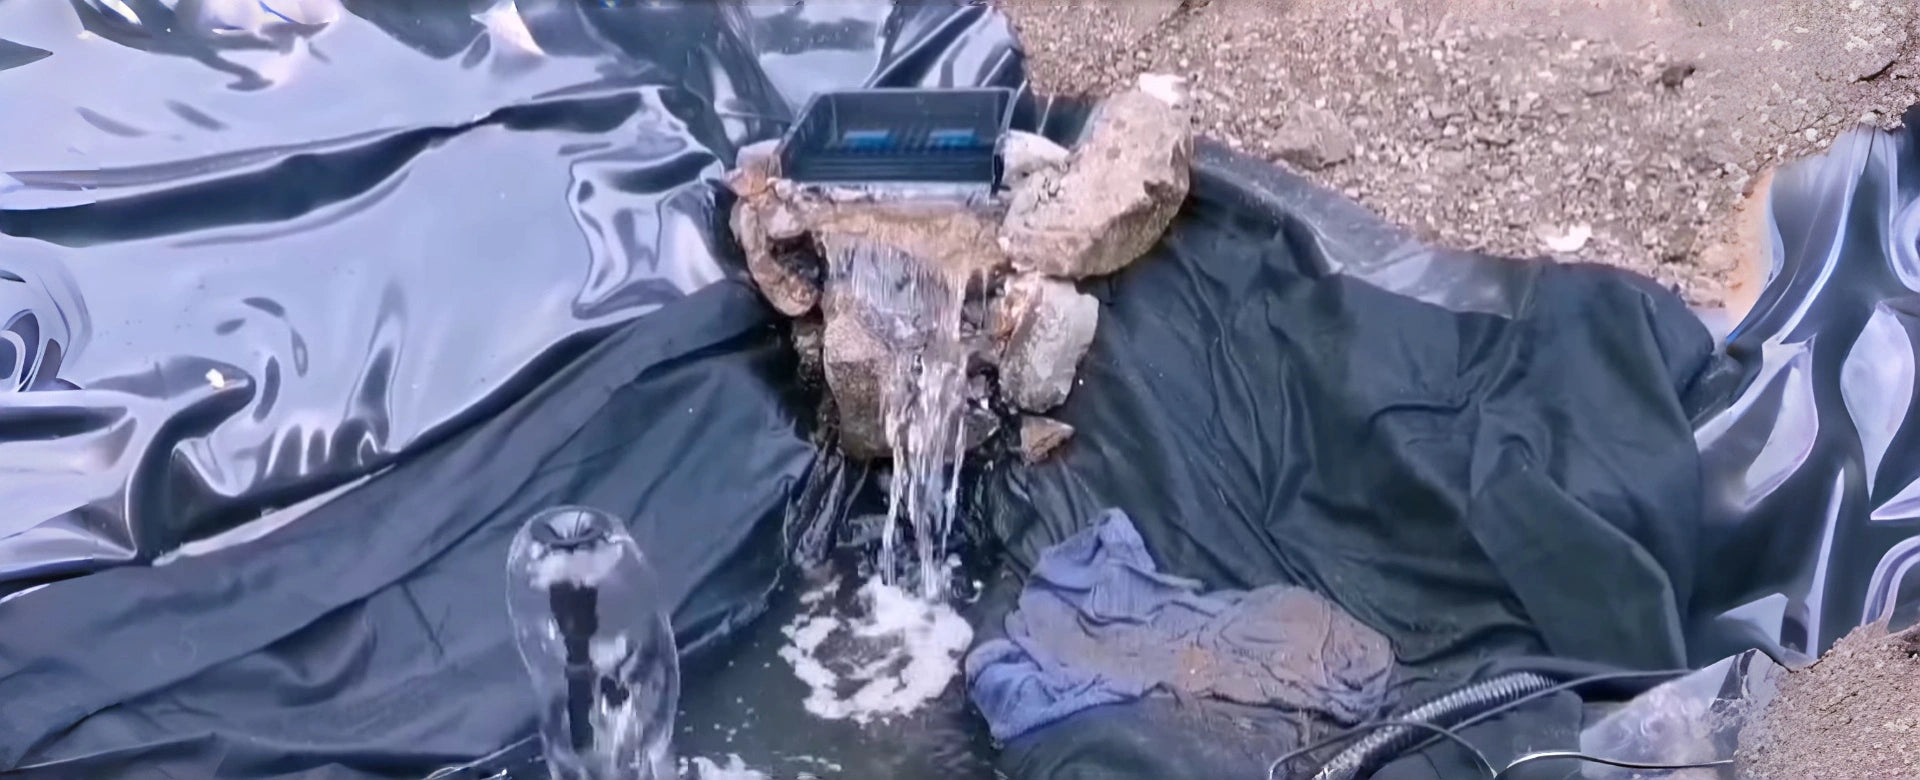
17. Arrange the stones for the waterfall frame and adjust the water flow.
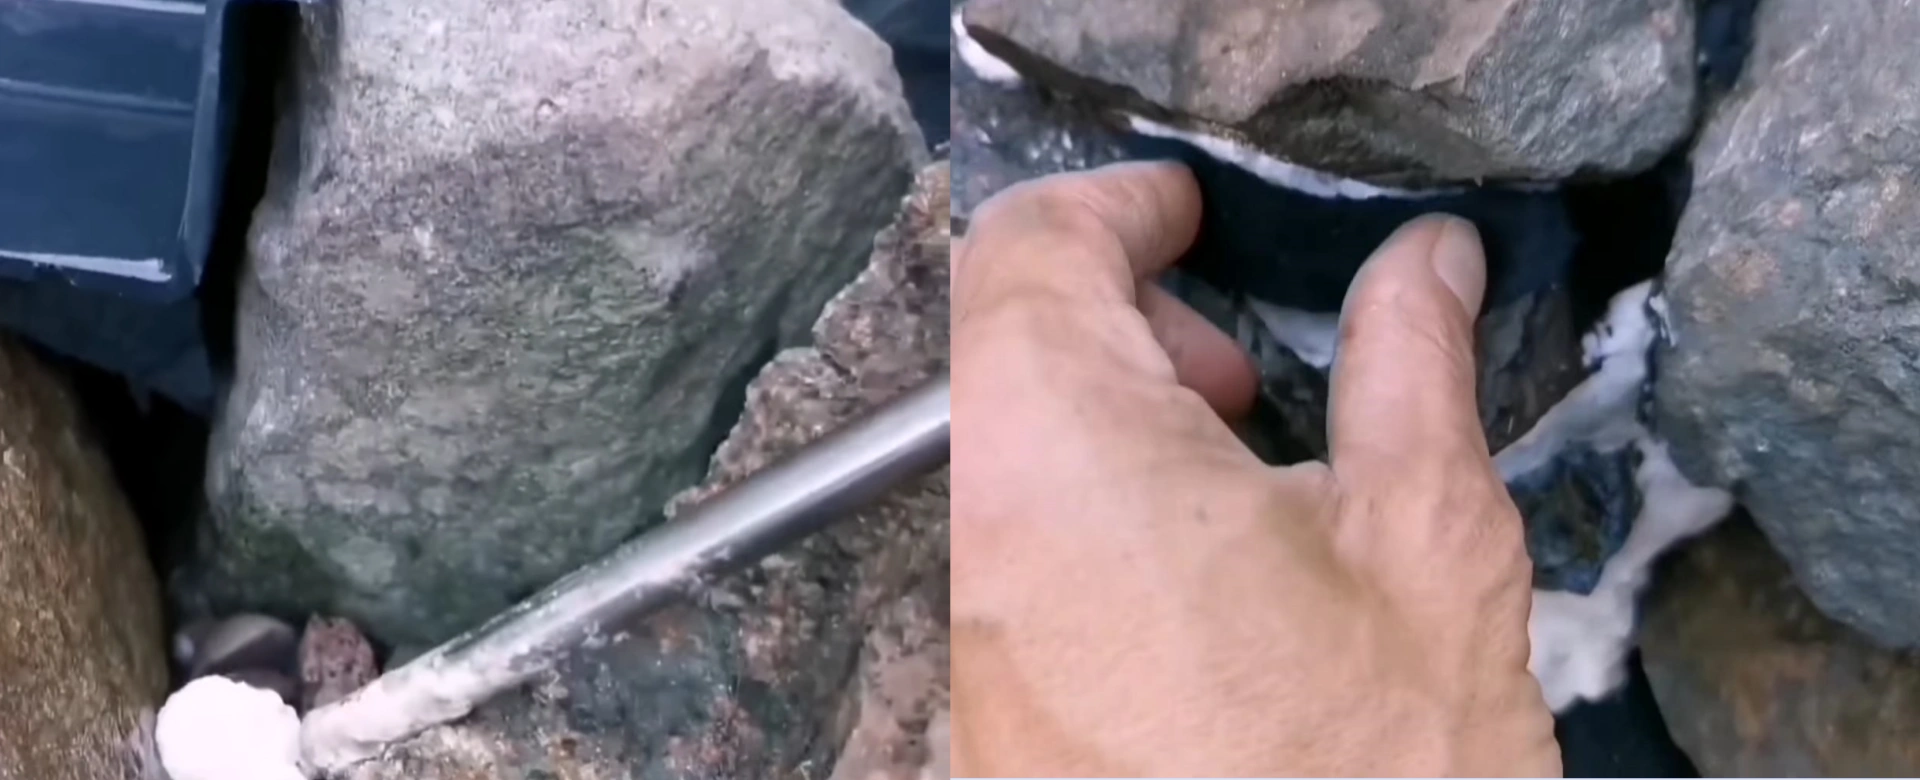
18. Fill the gaps with foam and cover the foam with a pad.
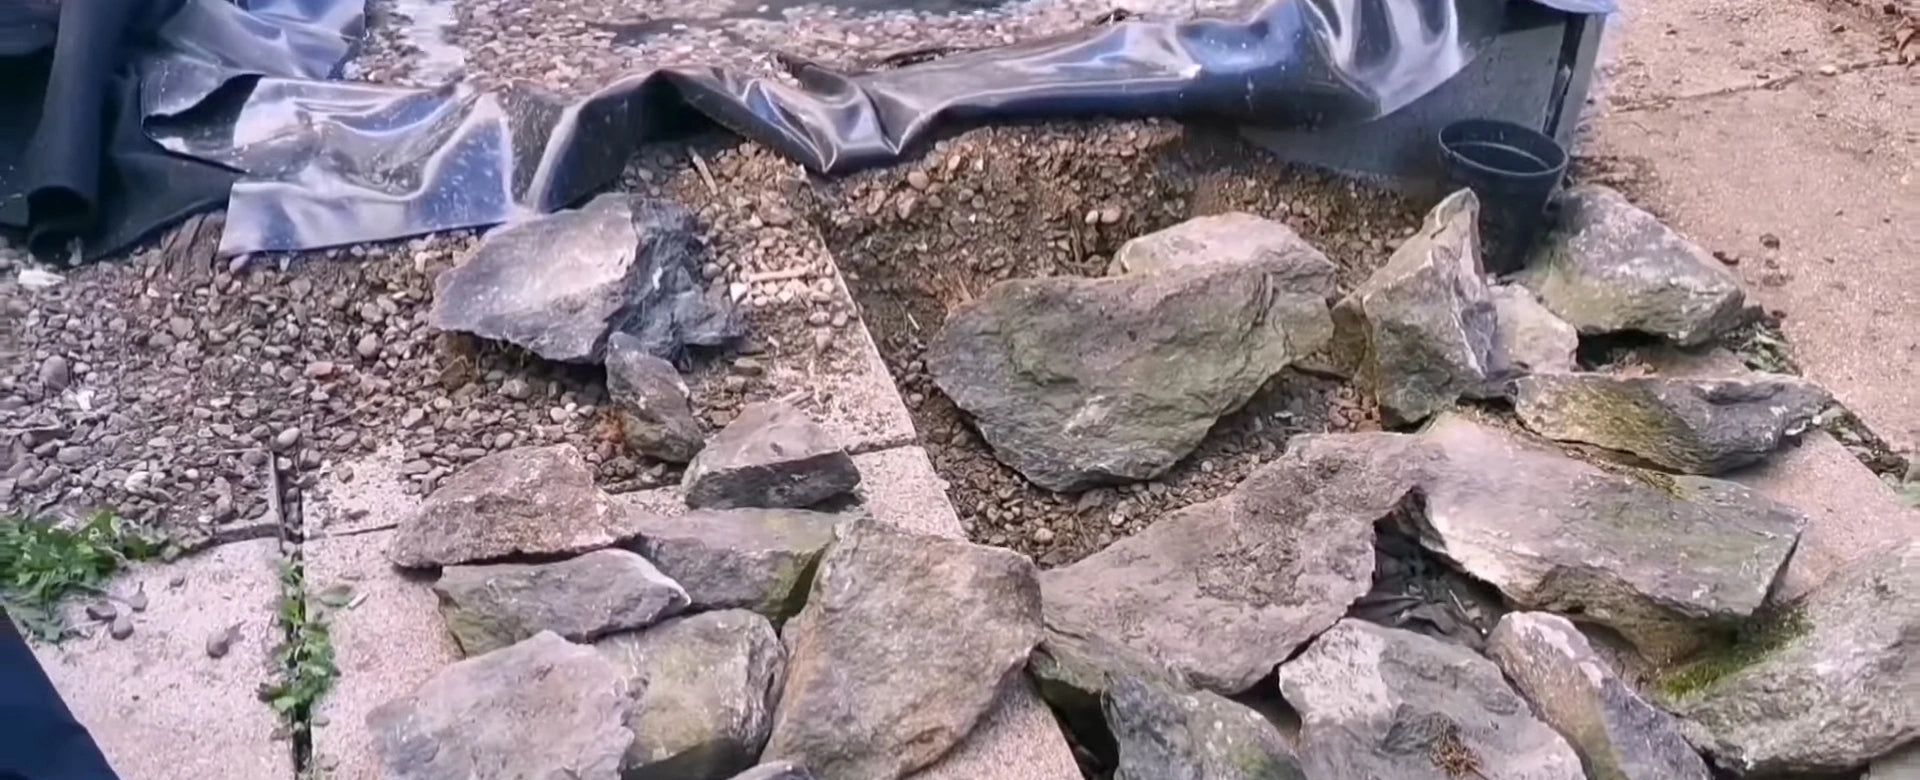
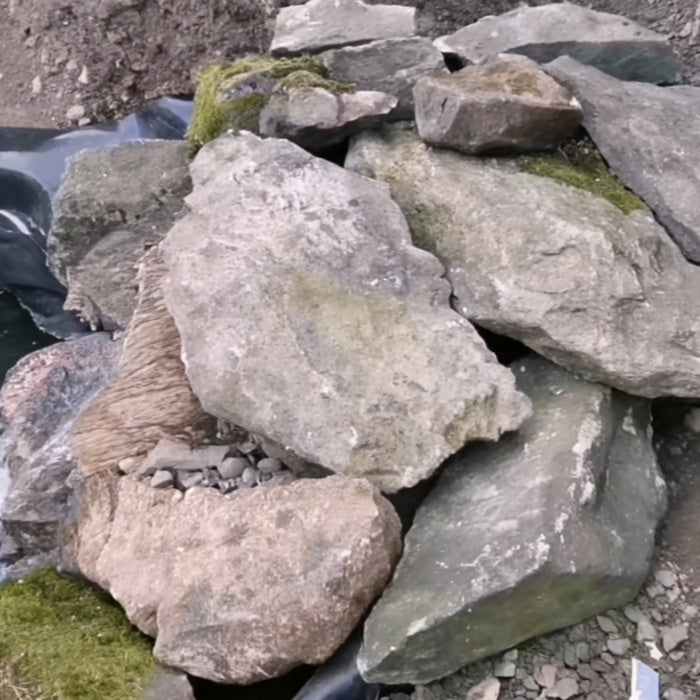
19. Choose stones of various sizes to help recreate a natural setting
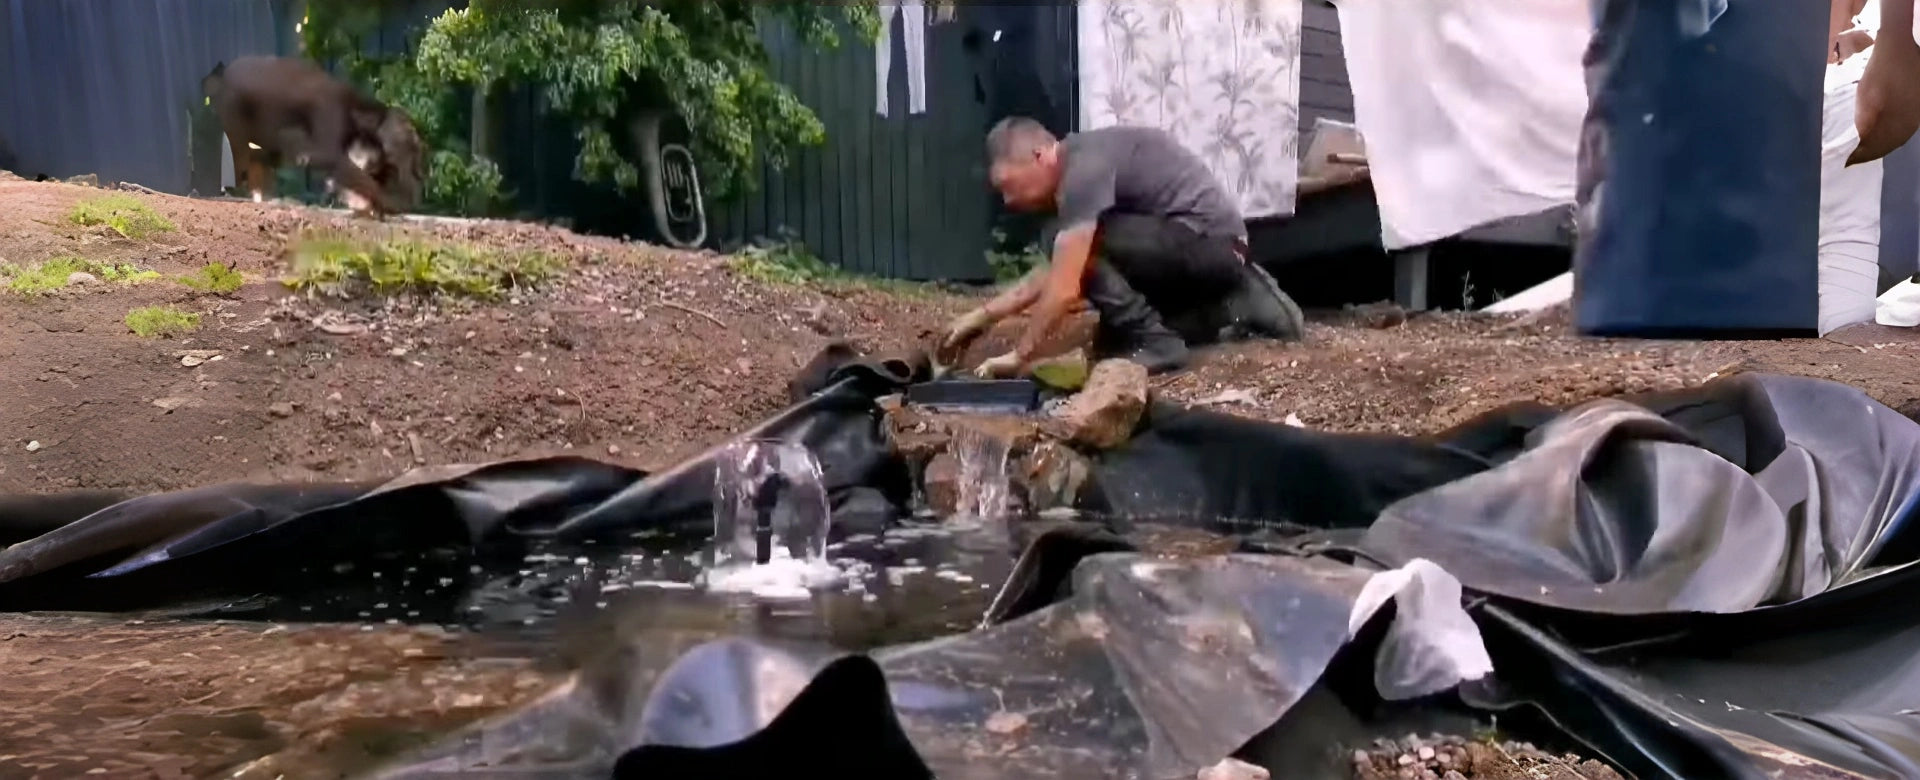
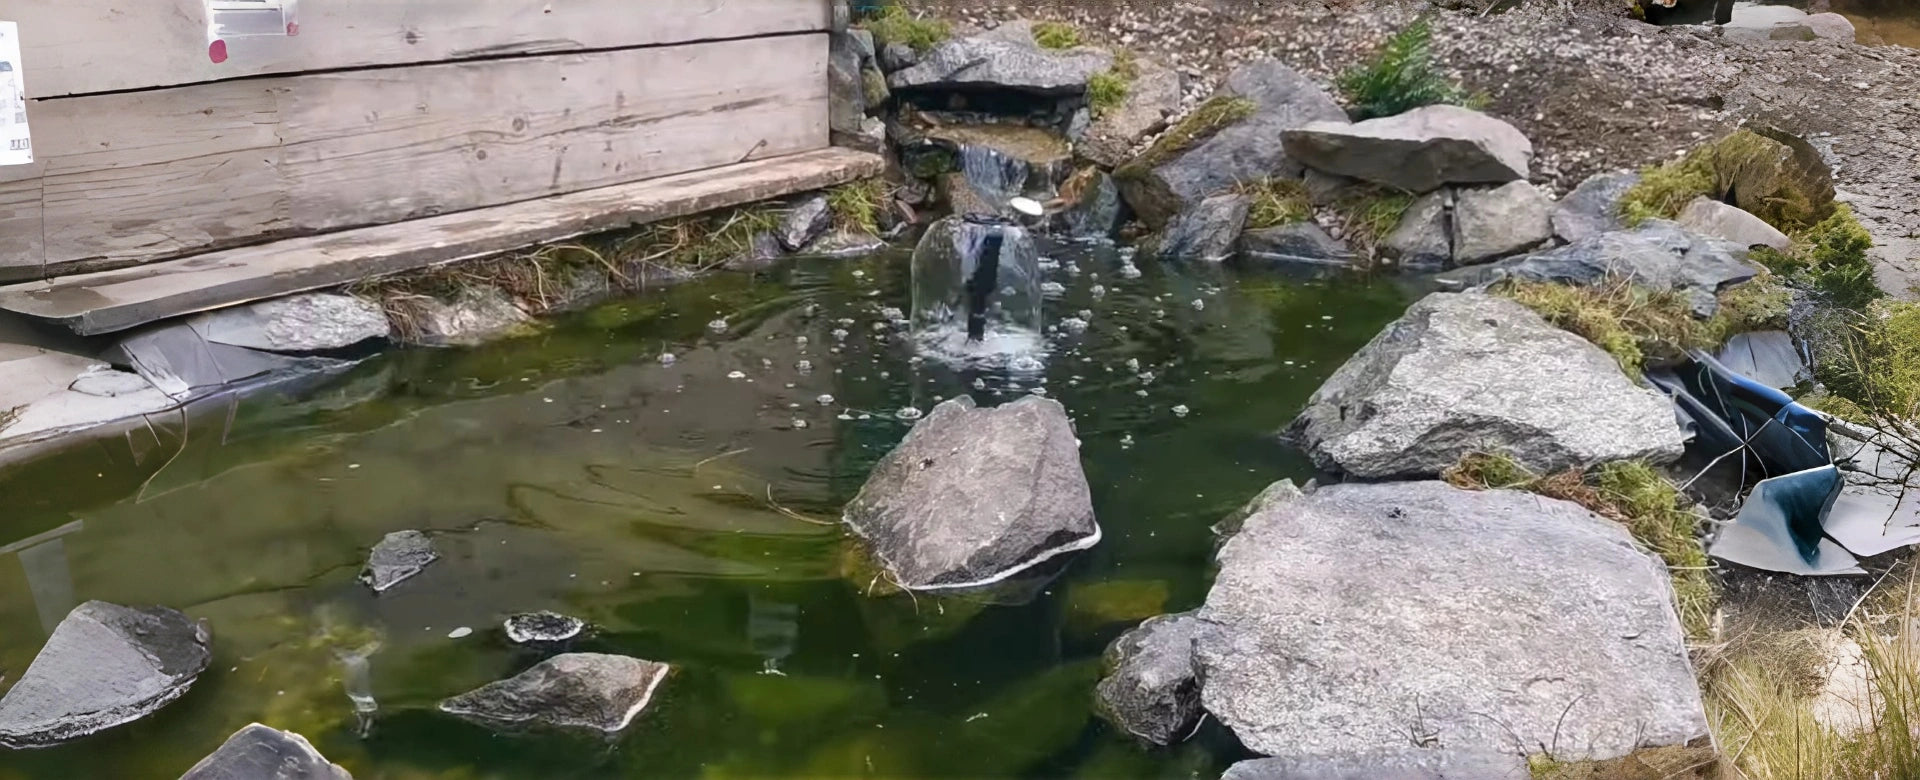
20. Cover the pond liner with stones to blend the pond into its natural surroundings
Enjoy Your Pondless Waterfall!