
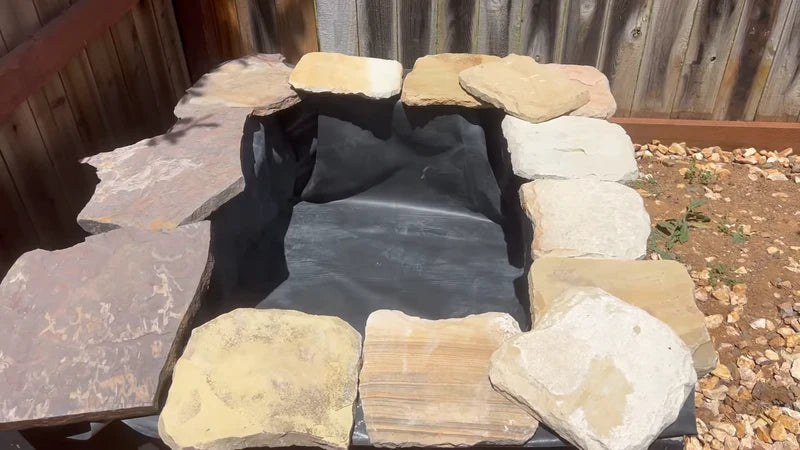
Above Ground Pond Project

DIY Small Above Ground Pond

This step-by-step tutorial will teach you how to create a small above-ground pond.
View Tutorial

Items Needed

epdm rubber pond liner,epdm 45 mil pond liner,liner for small pond
01

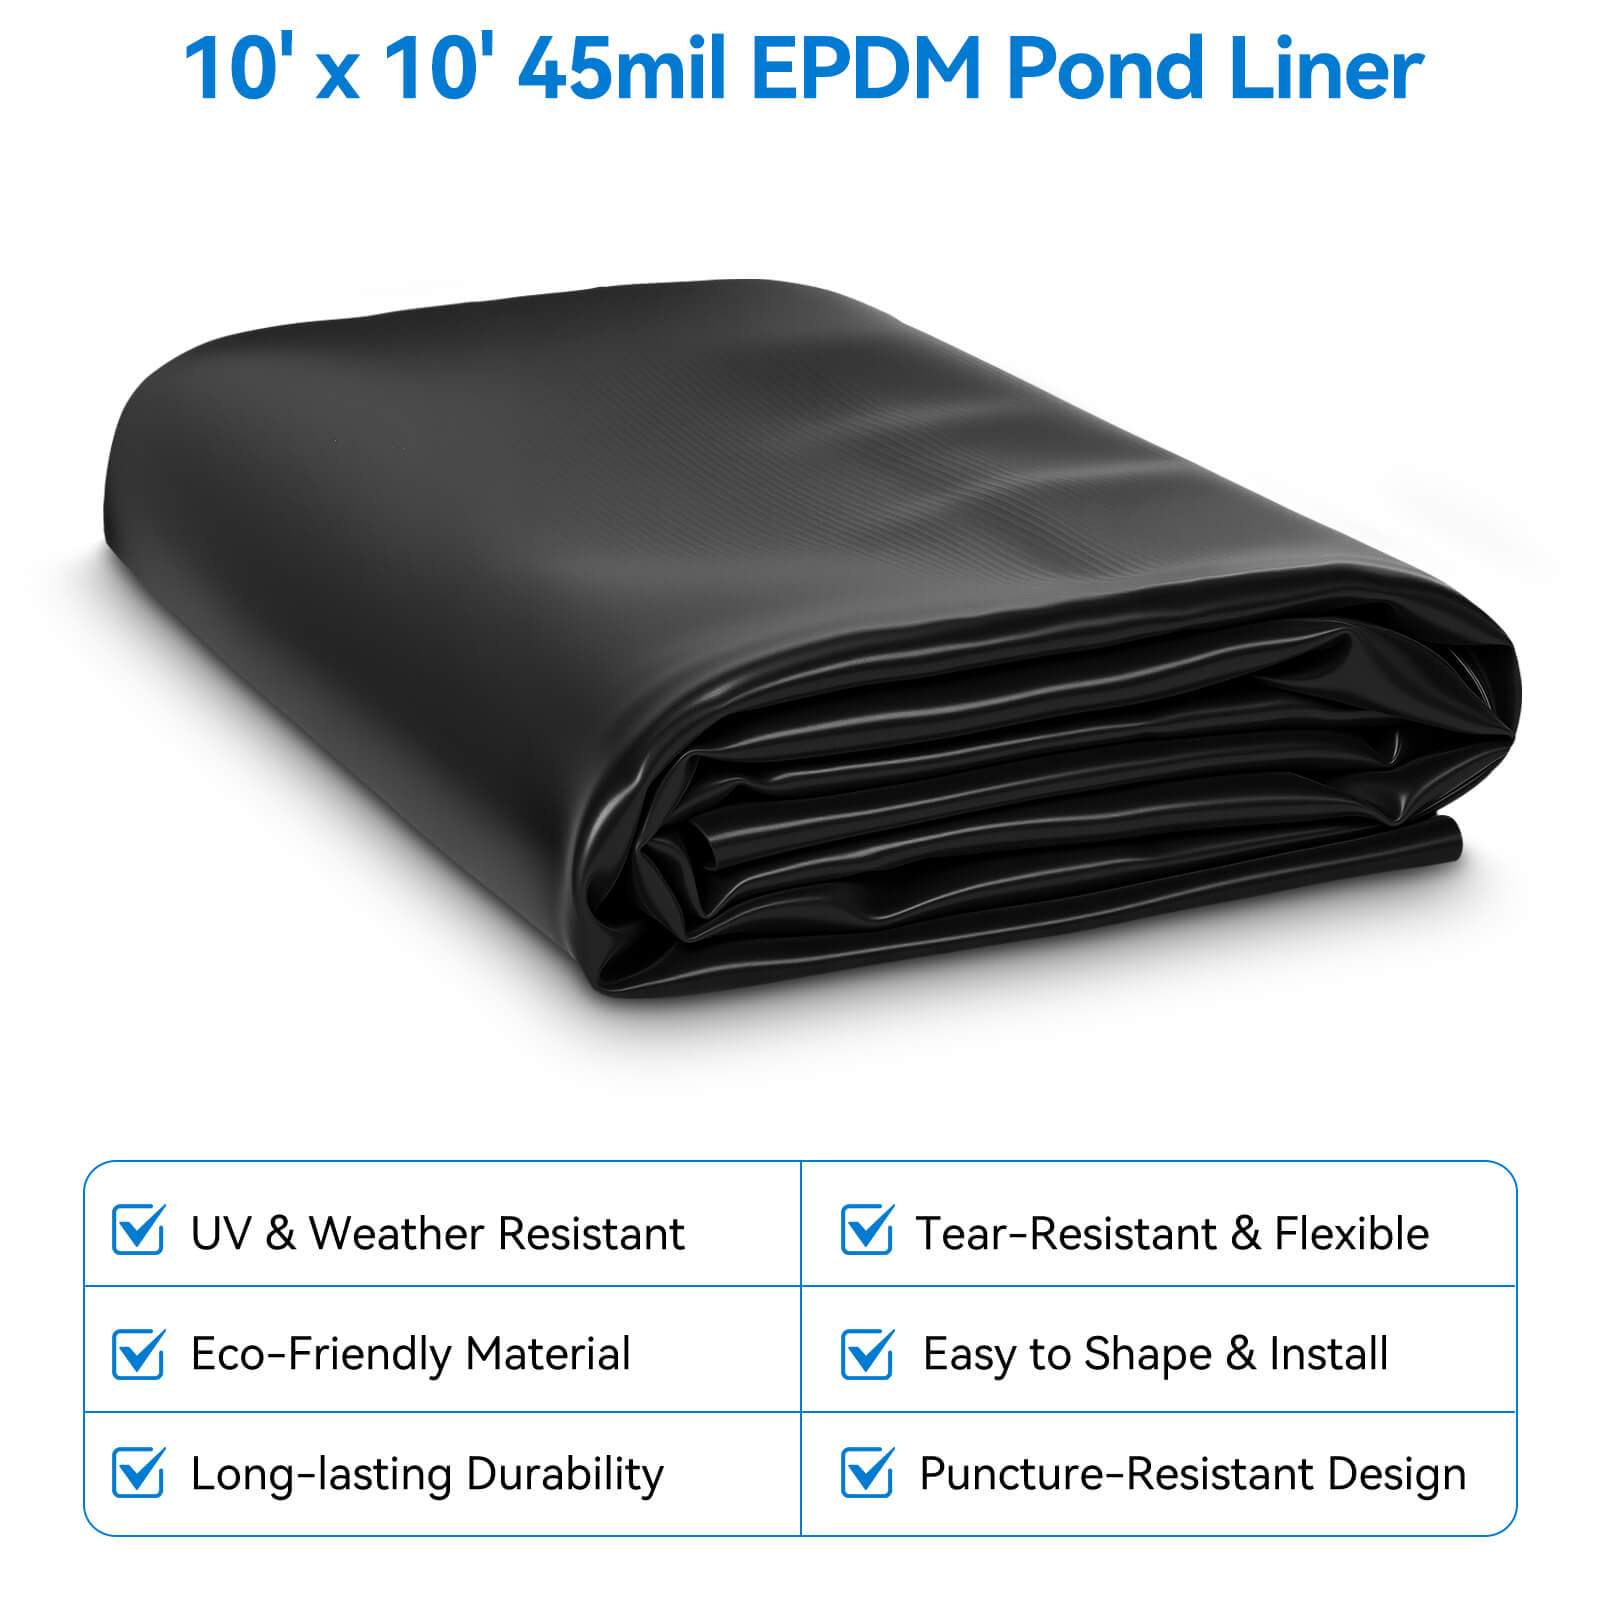
10' x 10' 45mil EPDM Pond Liner

Cilck here to Shop

solar powered garden fountain with battery backup,solar fountain pump with battery,solar fountain with battery backup,solar powered water fountain pump with battery backup
02

25W Solar Water Fountain Pump with Battery Backup

Click here to Shop

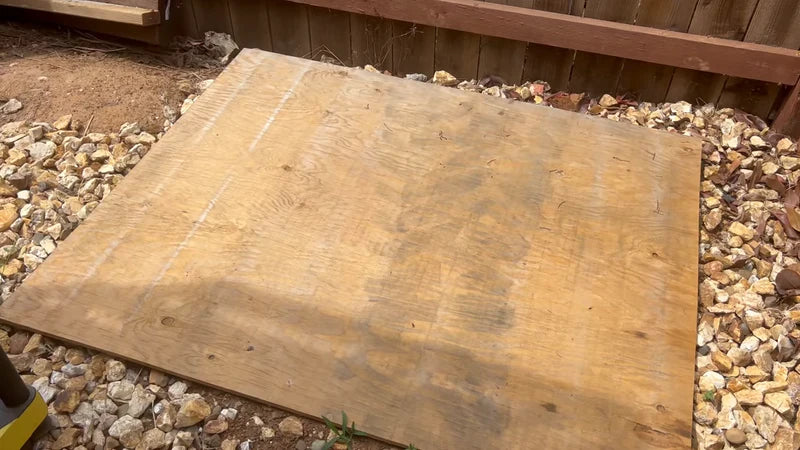
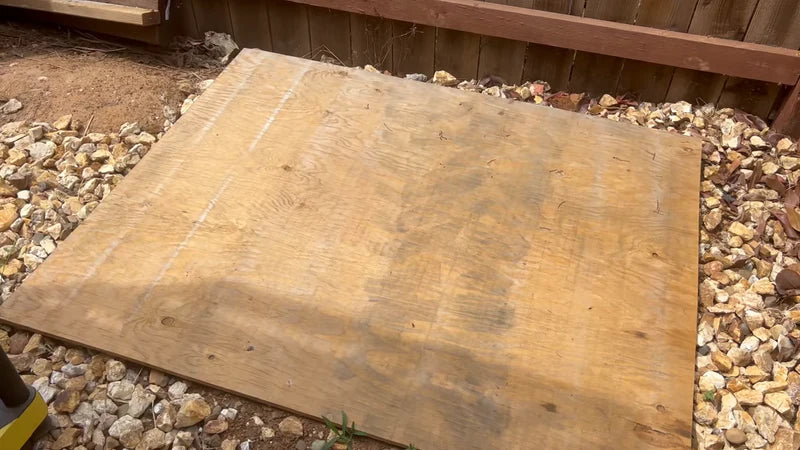
Plywood - Provides a stable foundation
03

Plywood - Provides a stable foundation

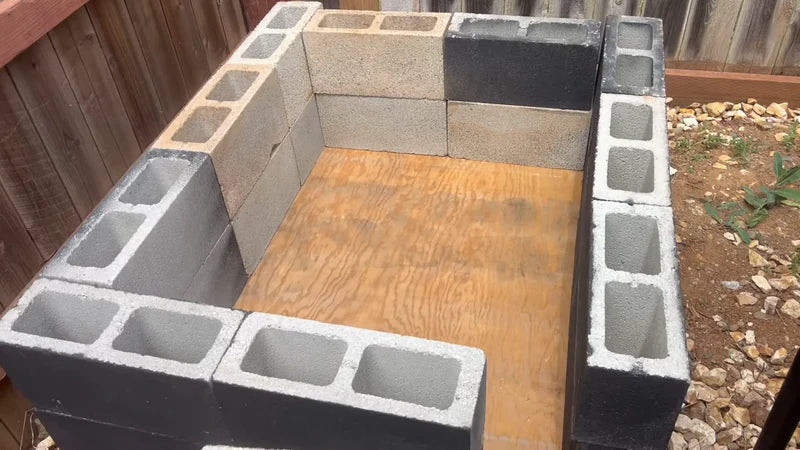
Cinder Blocks - Used for structural support
04

Cinder Blocks - Used for structural support

Flat Stones - For decorative edging
05

Flat Stones - For decorative edging

01

10' x 10' 45mil EPDM Pond Liner

Cilck here to Shop

02

25W Solar Water Fountain Pump with Battery Backup

Click here to Shop

03

Plywood - Provides a stable foundation

04

Cinder Blocks - Used for structural support

05

Flat Stones - For decorative edging

epdm rubber pond liner,epdm 45 mil pond liner,liner for small pondsolar powered garden fountain with battery backup,solar fountain pump with battery,solar fountain with battery backup,solar powered water fountain pump with battery backupPlywood - Provides a stable foundationCinder Blocks - Used for structural supportFlat Stones - For decorative edging

Step 1: Build the Pond Structure

1. Lay down the plywood foundation.
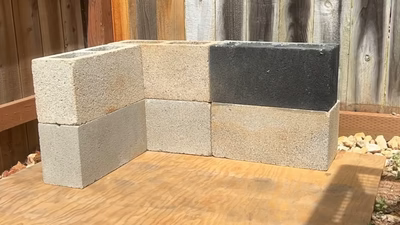
1. Lay down the plywood foundation.

2. Arrange cinder blocks into a rectangular or square shape.
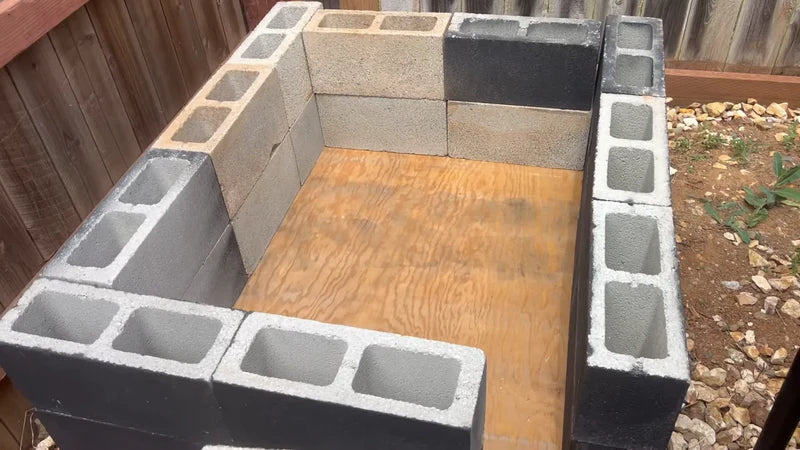
2. Arrange cinder blocks into a rectangular or square shape.

3. Ensure the structure is level.
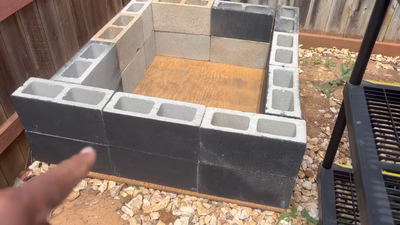
3. Ensure the structure is level.

4. Double-check the alignment before proceeding.

4. Double-check the alignment before proceeding.

Step 2: Install the Pond Liner
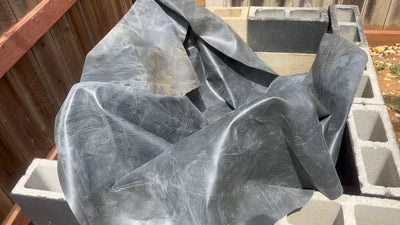
5. Place the pond liner inside the frame.
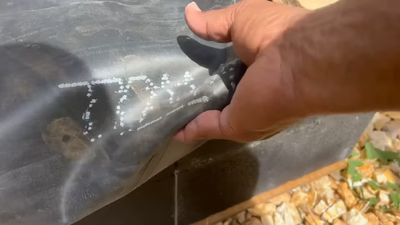
5. Place the pond liner inside the frame.

6. Smooth out creases to avoid folds that can trap dirt.
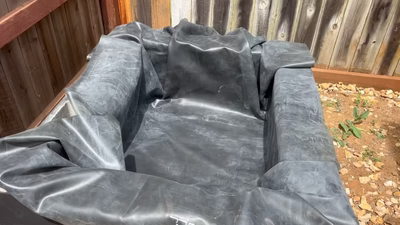
6. Smooth out creases to avoid folds that can trap dirt.

7. Ensure there is at least a 10-inch overhang on all sides.
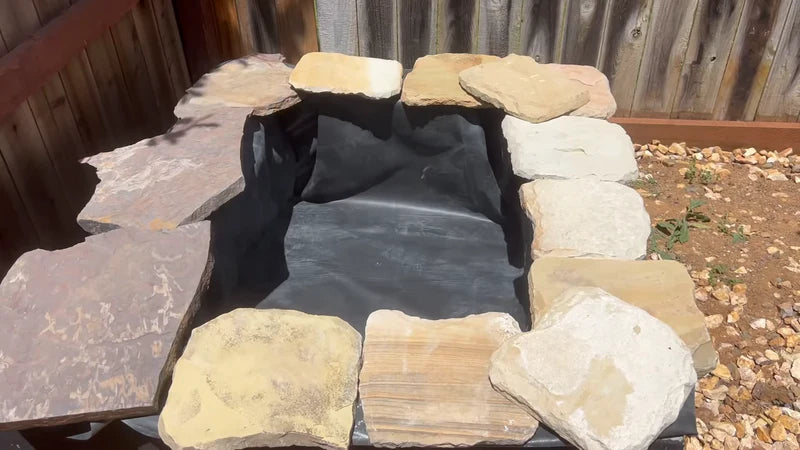
7. Ensure there is at least a 10-inch overhang on all sides.

8. Use flat stones to secure the liner edges.

8. Use flat stones to secure the liner edges.

Step 3: Fill the Pond with Water
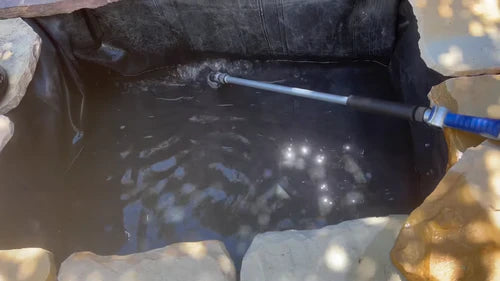
9. Slowly fill the pond with water.
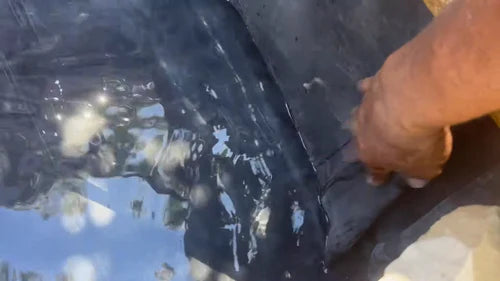
9. Slowly fill the pond with water.

10. Adjust the liner as needed to smooth out any remaining creases.
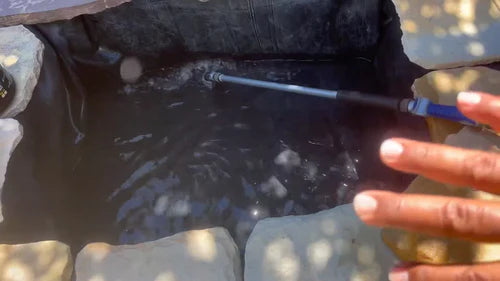
10. Adjust the liner as needed to smooth out any remaining creases.

11. Check for leaks before proceeding to the next step.

11. Check for leaks before proceeding to the next step.

Step 4: Install the Solar Water Pump
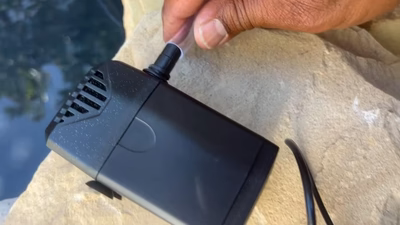
12. Connect the tubing to the pump and position the outlet for optimal water circulation.
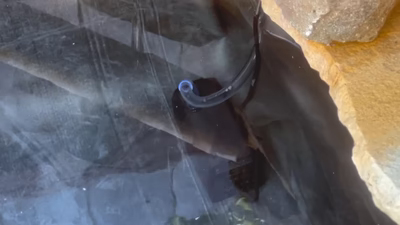
12. Connect the tubing to the pump and position the outlet for optimal water circulation.

13. Install the Solar Water Fountain Pump inside the pond.
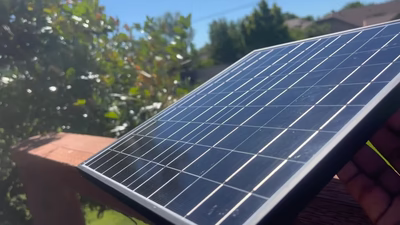
13. Install the Solar Water Fountain Pump inside the pond.

14. Place the solar panel in a sunny location.
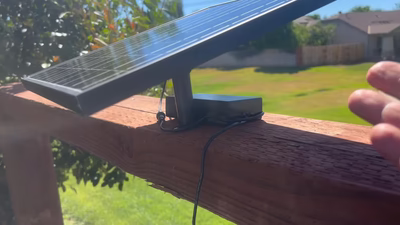
14. Place the solar panel in a sunny location.

15. Add a Battery Backup for continuous operation during cloudy days.

Step 5: Add Plants & Decorations
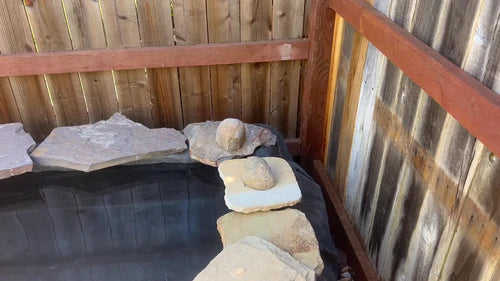
16. Place decorative rocks around the pond edges.
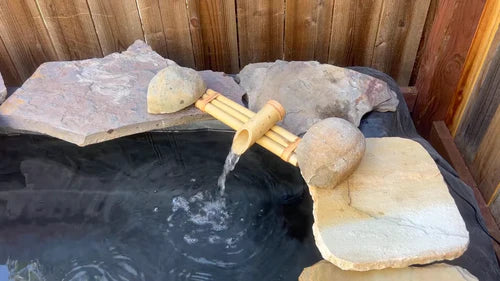
16. Place decorative rocks around the pond edges.

17. Consider adding a bamboo water feature for aesthetic appeal.
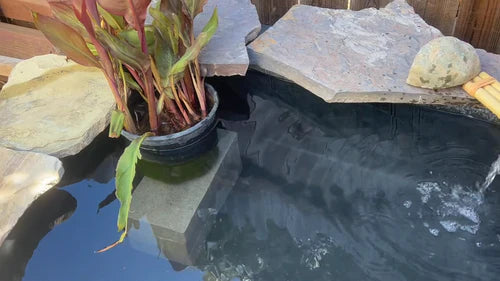
17. Consider adding a bamboo water feature for aesthetic appeal.

18. Add floating plants like water lettuce or lilies.
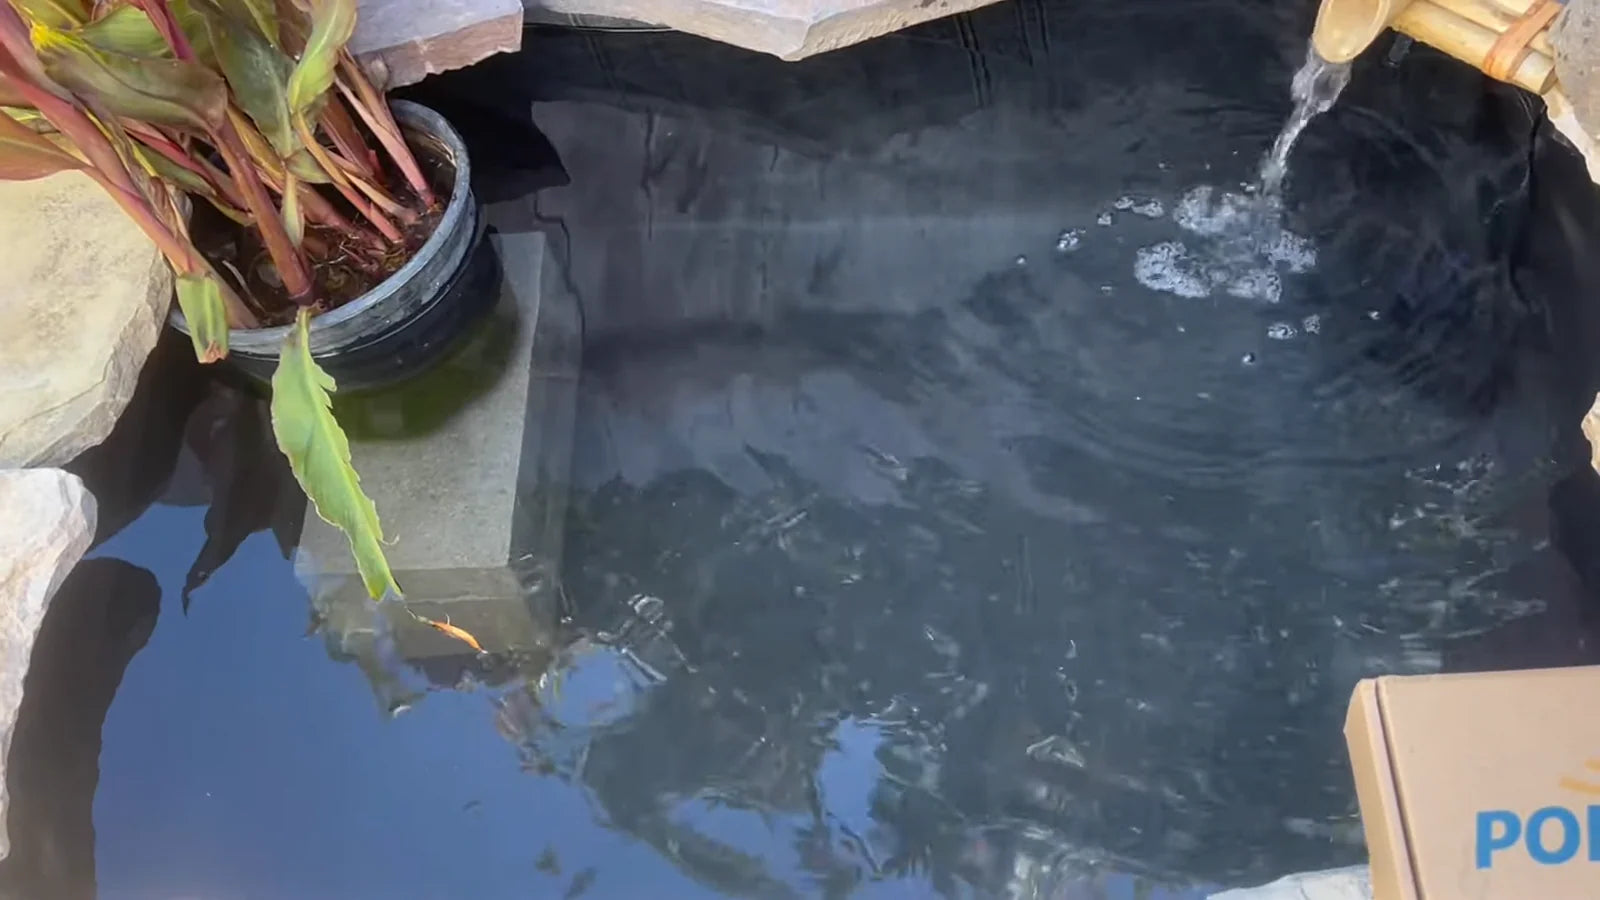
18. Add floating plants like water lettuce or lilies.

Enjoy Your Above Ground Pond!

Enjoy Your Above Ground Pond!
Learn More About DIY Projects!
Above Ground Pond Project